
Introduction: Why Surface Preparation Changes Everything in Bonding
Surface preparation may seem straightforward, but it’s the biggest variable between a reliable adhesive joint and a costly failure. In industrial adhesives, the cleaning and conditioning steps before you even open a cartridge or mix a two-part system often outweigh product selection in determining real-world bond strength. Poor bonding is rarely due to a “bad glue”—it’s almost always a case of improper preparation. Understanding why and how to prepare surfaces for structural adhesives can save rework cycles, warranty claims, and project delays across industries.
For teams comparing adhesive solutions, application methods, or considering manufacturer specifications, a useful next step is to explore how surface preparation is the critical foundation for successful adhesive bonding on our main ZDS manufacturer page. This resource provides a focused look at material compatibility, process considerations, and how proper preparation integrates with industrial adhesive systems. Readers planning their next project step may want to review this page for selection logic and workflow guidance directly from a manufacturing perspective.
The Science Behind Surface Preparation
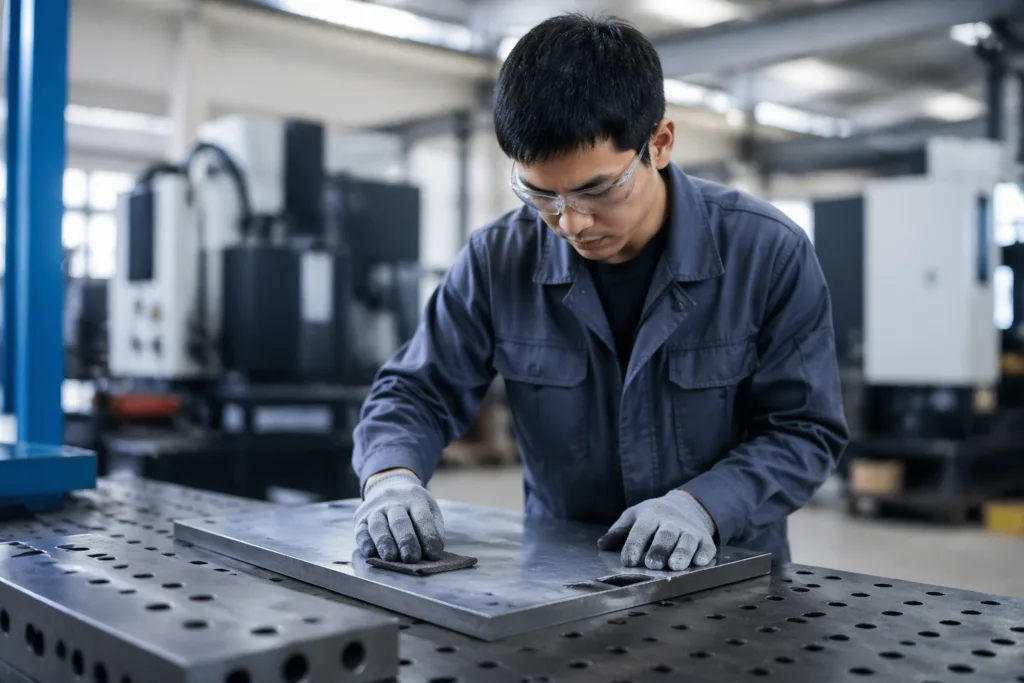
Why Clean, Prepared Surfaces Matter for Bonding Strength
Adhesive bonding creates physical and sometimes chemical connections with a substrate. Anything separating the adhesive from the true substrate—from oil to oxidation to dust—reduces the available area for the bond to form. Inconsistent cleaning, incomplete abrasion, or skipped activation steps all undermine potential bond strength and durability. In short: great adhesives need great surfaces, not just “clean enough.”
How Surface Energy Influences Adhesion
Substrates with high surface energy (like metals or clean glass) typically bond easily, while low-energy plastics or contaminated surfaces resist wetting and mechanical lock—even with the best adhesive. Surface preparation aims to maximize energy and compatibility, controlling wetting, flow, and penetration for robust bonds.
Stages of Surface Preparation: From ‘Dirty’ to ‘Bond-Ready’
Step 1: Degreasing & Removing Contaminants
The first step in nearly every bonding workflow is thorough degreasing. Oils, waxes, release agents, and even invisible residues from bare hands critically undermine adhesive performance. Reliable degreasing methods include solvent wiping (isopropyl, acetone), industrial cleaners, or detergent washing—followed by complete drying and lint-free wiping. Skipping this step means contaminants stay under the bondline, blocking adhesion and often leading to early failures.
Step 2: Mechanical Preparation—Abrasives & Blasting
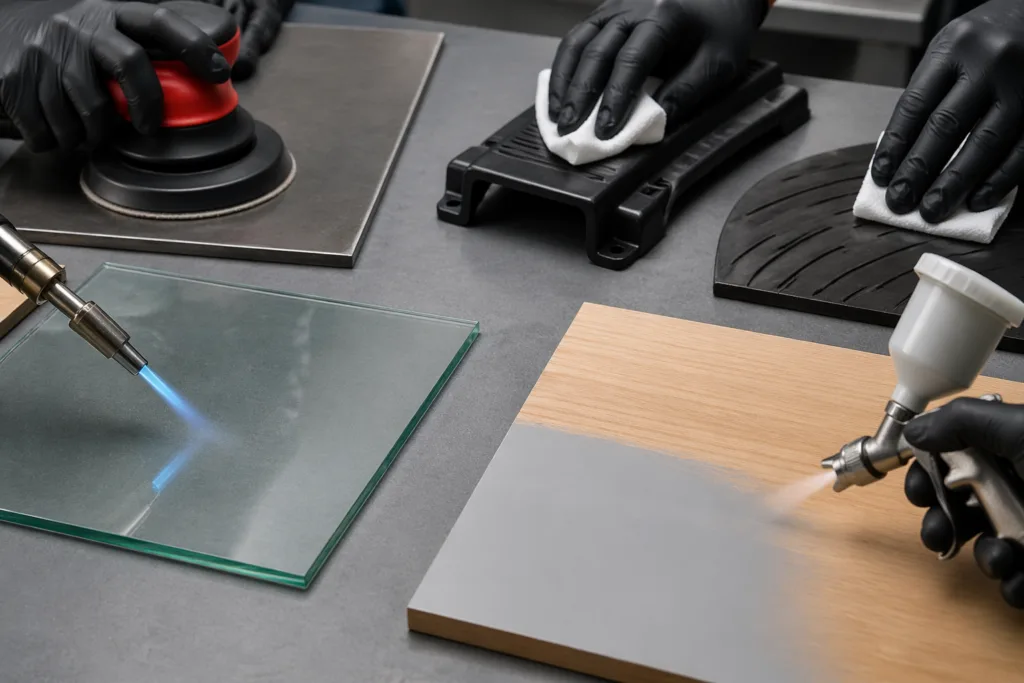
Most bonding applications benefit from a degree of surface roughening. The purpose is to remove the weak surface layer (e.g., oxidation, scale) and introduce microtexture for better mechanical interlocking. This is commonly achieved via sanding, wire brushing, or grit blasting. The chosen method and grit size depend on material, application requirements, and adhesive type (thin films typically require finer finishes; gap-filling adhesives may tolerate coarser profiles).
Step 3: Secondary Cleaning (Critical for Structural Adhesives)
After abrasion or blast cleaning, a secondary clean is essential. Abrasives can leave dust or embedded debris. Solvent wiping (with a clean, lint-free cloth) directly after roughening removes this “respread contamination.” In high-reliability bonding (aerospace, automotive structure, load-bearing repairs), clean-glove handling is essential at this stage.
Step 4: Chemical or Physical Activation
Certain surfaces—such as some plastics, oxidized metals, or glass—benefit from activation treatments. These can include flame/plasma treatments, chemical etching, corona discharge, or conversion coatings. Such processes improve surface energy and introduce functional groups for chemical bonding. The technique selection should match the adhesive chemistry and substrate type for best results.
Step 5: Priming or Coupling Agents
Industrial adhesives, especially when bonding challenging substrates, often require a dedicated primer or coupling agent. These products bridge compatibility gaps, promote chemical bonding, or suppress unwanted reactions (e.g., corrosion, plasticizer migration). Primers are usually applied immediately before adhesive application and allowed to dry or cure per manufacturer specification.
Step 6: Handling and Timing Controls
Perfect surface preparation can be undone by improper handling. Avoid skin contact (oil transfer), airborne dust, or long delays between preparation and bonding. Most industrial workflows set a maximum window (often 1–4 hours) between final prep and adhesive application. Always refer to adhesive technical data for specific open times.
Step 7: Environmental Controls (Moisture, Temperature, Cleanliness)
Humidity, temperature changes, or airborne debris can quickly contaminate or degrade prepped surfaces. Best practice involves performing final surface prep in a controlled environment and minimizing exposure until bonding is complete. For sensitive processes or critical applications, consider cleanroom precautions or local fume control.
Surface Preparation for Different Materials
Metal: Standard, Stainless, & Aluminum
Metals are typically high-energy surfaces but are prone to oxidation and oil contamination. Recommended preparation includes solvent degreasing, followed by abrasion with a non-ferrous abrasive (avoiding cross-contamination), a secondary clean, and, if needed, a conversion coating or specialty primer. Aluminum often requires immediate bonding after prep to minimize oxide regrowth. For heavy-duty performance, the use of a high-strength epoxy adhesive for durable material bonding is advised.
Plastics: ABS, Polycarbonate, Polypropylene, and More
Plastics vary widely in surface energy and chemistry. Some bond well after simple cleaning, while others (like polyethylene and polypropylene) resist most adhesives. Abrasion (fine grit or abrasion pads), followed by degreasing, is standard. For especially low-energy plastics, flame treatment or chemical priming (using recommended primers for cyanoacrylates, polyurethanes, etc.) is necessary for reliable adhesion.
Rubber and Elastomers
Rubber surfaces often release oils or plasticizers, which can migrate over time, weakening bonds. Wash thoroughly with isopropyl alcohol, abrade lightly if the substrate allows, and consider specialty primers for maximum grip. For certain adhesives, a controlled surface bloom can actually improve bonding, but this should be verified against supplier recommendations.
Glass and Ceramics
Glass and ceramics—although technically “clean”—often have dust, hand oils, or process lubricants. Clean with suitable solvents, avoid ammonia-based glass cleaners (which may leave residue), and consider a silane coupling agent primer for critical structural bonds. Etching (physical or chemical) can also boost performance, especially in humid or outdoor environments.
Wood and Composite Materials
Wood requires removal of dust, loose fibers, and extractives (pitch/oil), especially in resinous species. Sand in the direction of the grain, remove debris with a vacuum or clean brush, and avoid over-sanding (which can close pores needed for adhesive wetting). For composites, focus on degreasing and surface reactivation strategies like slight oxidation or mechanical abrasion.
Quick Reference: Surface Preparation by Substrate
| Material | Preparation Steps | Typical Challenges |
|---|---|---|
| Steel, Aluminum | Degrease > Abrade > Secondary Clean > (Prime) | Oxide regrowth, oil films |
| Plastics | Degrease > Abrade > (Flame/Chemical Prime) | Low surface energy |
| Glass/Ceramic | Solvent Clean > (Silane Prime) > Dry | Invisible residue, dust |
| Rubber | Degrease > Light Abrade > (Specialty Prime) | Plasticizer migration |
| Wood | Sand > Remove Dust > Dry | Oils, excess moisture |
Common Surface Preparation Mistakes
Skipping Cleaning Steps or Rushing Prep
Many failures originate from trying to shortcut cleaning for the sake of speed or perceived cost savings. In practice, extra minutes spent on preparation often save hours in rework or troubleshooting.
Cross-Contamination
Reusing abrasive tools across different materials can deposit unwanted particles (e.g., iron contamination of aluminum). Always separate tools by substrate, and store them clean and ready.
Residues Left by Cleaners or Solvents
Some cleaning agents leave films that block adhesive wetting or interfere with curing chemistry. Always use recommended, residue-free cleaners, and ensure full evaporation (especially for acetone and some alcohols).
Bonding to Oxides, Not Base Material
Oxidation layers on metals, or environmental aging of plastics, can separate easily from the underlying substrate. Mechanical or chemical prep supports direct bonding to the true base material.
Poor Process Control
Inconsistent preparation methods, uncontrolled prep-to-bond windows, or changing operators can all reduce process reliability. Standardize steps, inspect results, and provide clear documentation—especially in industrial or high-value applications.
Inspection: How to Check Surface Preparation Quality
Visual and Tactile Checks
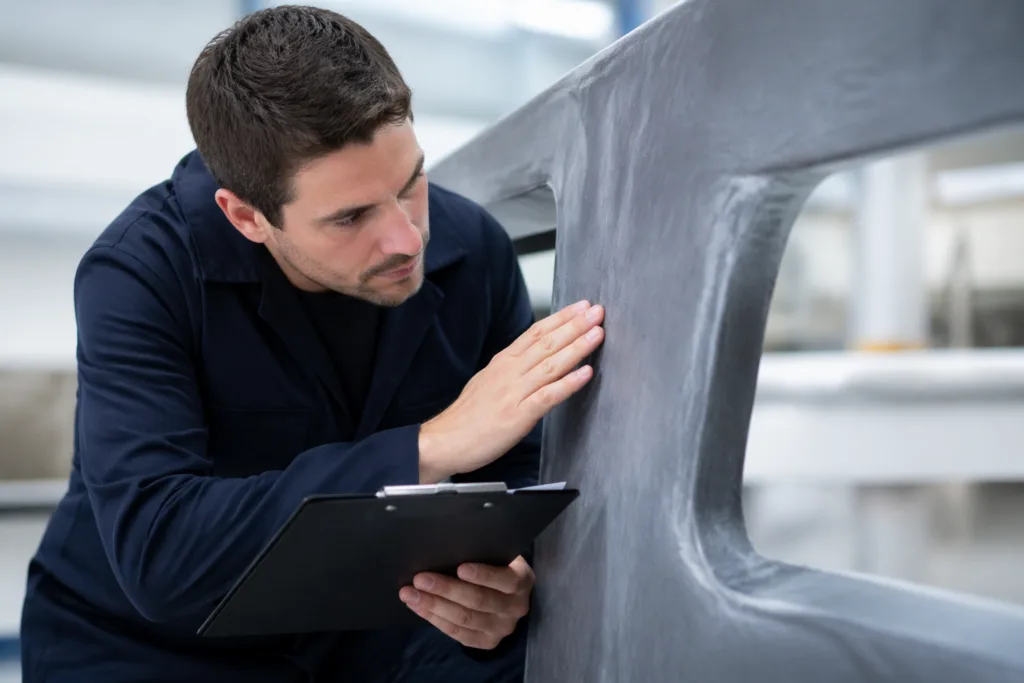
Surfaces should look and feel clean, evenly abraded (where required), and free from streaks, debris, or unexpected gloss. A simple water-break test (watching water bead or spread) can quickly reveal lingering contamination on metals or glass.
Solvent Swab Test
Wipe the prepped area with a clean white cloth and the intended cleaner. If residue, staining, or color is transferred to the cloth, repeat cleaning before bonding.
Process Control Records
In industrial projects, best practice is to document surface prep, method, tools, timing, and operator. This allows traceability if issues or failures arise later, and supports continuous improvement in workflow and product performance.
Surface Preparation for Bonding: A Practical Guide
Adhesive manufacturers, including ZDS, routinely analyze field failures and find that inadequate or inconsistent surface preparation is the single biggest preventable risk. By respecting the full process—degassing, abrading, secondary cleaning, activating, priming, and controlling the environment—teams can unlock the true potential of modern industrial adhesives for demanding applications.
For those further evaluating adhesive options, reviewing the full range of industrial adhesive solutions will help you align product specifications with real-world needs. Understanding which adhesives require—and reward—specific surface prep is essential in narrowing choices for both performance and total cost of ownership.
Checklist: Surface Preparation Best Practices
- Always degrease first—don’t rely on abrasion alone
- Choose abrasives carefully; separate by substrate
- Clean, lint-free wiping / vacuuming after abrasion
- Consider activation/priming for metals, plastics, glass as needed
- Control time from preparation to bonding (ideally <2 hours)
- Inspect surfaces (visual, water-break, swab test) before application
- Maintain clean handling—minimize re-contamination risk
- Document process steps for traceability
Final Thoughts: Avoiding Surprises in Bonding Projects
No matter the technology—epoxies, polyurethanes, silanes, or new-generation hybrids—surface preparation remains a hands-on, practical science. Performance hinges not only on adhesive choice but on the discipline and precision of pre-bonding routines. The extra effort spent during preparation is returned many times over in service life, warranty reduction, and customer confidence.
An in-depth look at the reasons why adhesive bonds fail underscores that preparation matters even more than exotic chemistries. For engineers and buyers wanting to dig further, understanding adhesive strength and performance will help in aligning system choices with surface requirements.
Frequently Asked Questions
What is the most important step in surface preparation for bonding?
Degreasing and removing contaminants is usually the most critical step, as oil, dust, and residue prevent proper adhesive contact and can cause bond failures even if all other steps are followed properly.
Does every substrate need to be abraded before bonding?
No, not all materials require abrasion. Metals and some plastics benefit, but soft materials or already textured surfaces may only need cleaning. Always follow adhesive data sheets for substrate-specific prep advice.
How soon after surface prep should adhesive be applied?
Ideally, adhesives should be applied within 1–4 hours of final preparation. The allowed window depends on the material, environment, and manufacturer recommendation to minimize risk of recontamination.
Can I use household cleaners for industrial adhesive surface prep?
Household cleaners typically leave residues that can interfere with adhesive performance. Industrial solvents like isopropyl alcohol, acetone, or recommended degreasers are safer and engineered to leave minimal residue.
What simple tests can check if a surface is ready for bonding?
A water-break test for metals or a solvent wipe test can quickly reveal persistent contamination. Surfaces should show even wetting without beading for best adhesion potential.
Is primer always required for strong adhesive bonds?
Primers are needed only when substrate surface energy or chemistry presents adhesion challenges. Some adhesives are self-priming; consult manufacturer guidance based on both substrate and adhesive type.