
UV adhesive failure causes are often misread because the visible symptom is not always the true problem. A bond that peels may actually be under-cured. A joint that looks clear on day one may yellow later because the chemistry was not matched to heat and light exposure. Bubbles may point to dispensing technique, but they can also signal viscosity mismatch, wet-out problems, or trapped volatiles. For engineers, production teams, and sourcing managers, effective troubleshooting starts by separating what you see from what happened earlier in material selection, surface condition, cure delivery, bond design, and use environment.
If your team is comparing materials, cure methods, or supplier capability for transparent assemblies, electronics, medical-style components, or fast inline bonding, UV adhesive manufacturing support for demanding bonding projects can be valuable when failure analysis needs to move beyond trial and error. At ZDS, we help customers align adhesive chemistry, viscosity, cure response, packaging format, and process conditions with real production needs, including sample evaluation, OEM formulation adjustment, and consistency planning for scale-up.
Why UV adhesive failure is not always a bond-strength problem
In industrial practice, many teams first ask whether the adhesive is strong enough. That is a reasonable starting point, but it is incomplete. A UV adhesive joint can fail even when the cured polymer itself has adequate strength. The issue may be lack of surface wetting, poor optical access for cure, residual stress from shrinkage, expansion mismatch between substrates, or environmental attack after assembly.
From our manufacturing perspective, the most useful way to troubleshoot is to treat failure as a system problem. The adhesive, substrate, curing equipment, bond-line geometry, dispensing method, part cleanliness, and service environment all interact. Changing only one variable without identifying the root cause can create new issues or hide the original one for a short time.
How to think about UV adhesive failures in industrial applications
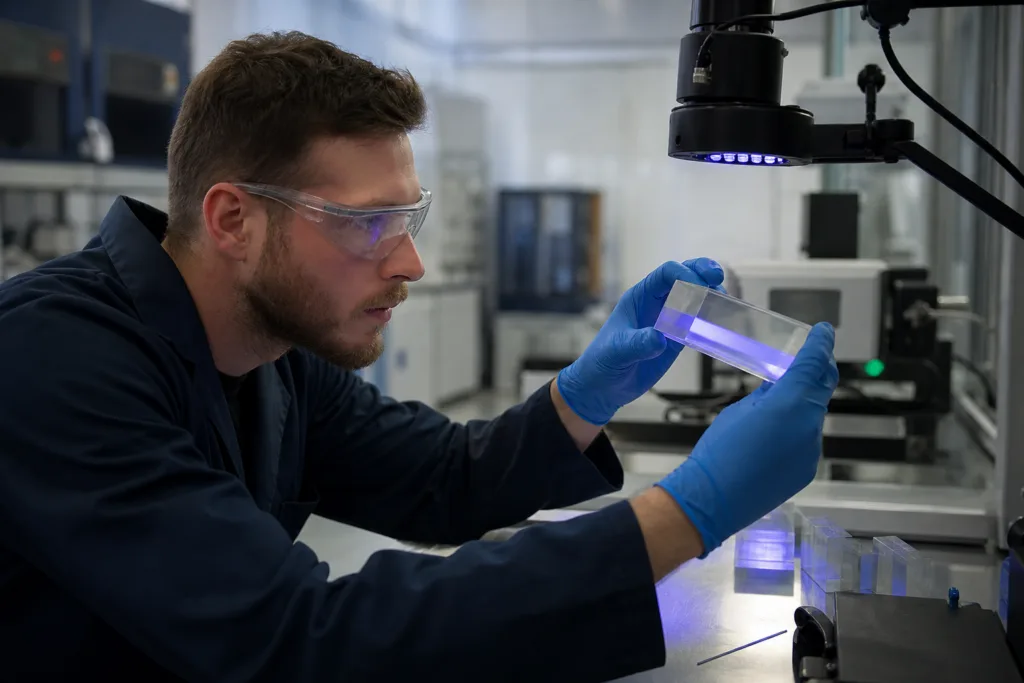
Before changing material, we usually advise customers to map the failure into four layers:
- Symptom: weak adhesion, yellowing, bubbles, haze, cracking, softness, or debonding
- Failure location: interfacial, cohesive, substrate damage, or mixed mode
- Process stage: before cure, during cure, immediately after assembly, or after aging
- Root-cause family: surface, chemistry, cure delivery, geometry, stress, or environment
This logic helps avoid a common mistake: assuming every failure needs a stronger adhesive. In reality, many UV bond problems are solved by better surface control, revised bond thickness, adjusted UV dose, different photoinitiator response, or a tougher adhesive with more movement tolerance.
When troubleshooting becomes cross-functional, application-based adhesive selection support is often more effective than comparing technical data sheets in isolation. The right evaluation should connect material properties to substrate pairings, cure access, line speed, handling time, and actual reliability targets.
12 common root causes of UV adhesive failure
Poor surface preparation and contamination
Low surface energy, mold release residue, finger oils, machining fluids, dust, oxidation, and moisture films can all prevent proper wetting. The result is often interfacial failure, where the adhesive separates cleanly from one substrate. This is especially common on plastics, coated metals, glass with handling contamination, and parts coming directly from molding or stamping lines.
Even a well-formulated UV adhesive cannot form a reliable bond if it never truly contacts the substrate at a microscopic level. That is why cleaning method, timing, and handling discipline matter as much as adhesive choice. For many factories, basic process control around wipe method, solvent compatibility, drying, and storage conditions produces a larger improvement than changing to a new formula.
Teams that need a more systematic baseline should review surface preparation steps that reduce adhesion failures, especially when bond performance varies by operator, shift, or lot.
Wrong adhesive chemistry for the substrate or application
UV adhesives are not one universal category. Some are optimized for rigid glass-to-metal bonding, some for plastics, some for optical clarity, and some for fast fixture with moderate long-term stress resistance. If the chemistry is too rigid for a flexible substrate, too brittle for thermal cycling, or not compatible with a difficult plastic, failure can occur even when initial assembly looks acceptable.
Common mismatches include bonding polyolefin-like surfaces without proper pretreatment, using a rigid optical adhesive in a joint that sees vibration, or selecting a fast-curing grade when deeper cure and lower shrink stress matter more than line speed. In our formulation work, the right chemistry is often defined less by cure speed alone and more by the balance among adhesion, toughness, clarity, and aging behavior.
Under-cure caused by insufficient UV dose, shadowing, or cure depth limits
Under-cure is one of the most frequent UV adhesive failure causes in production. A part may feel fixed quickly but still contain uncured or partially cured material inside the joint. This can lead to low strength, creeping, yellowing, soft spots, poor chemical resistance, or later debonding.
Typical reasons include low lamp intensity, excessive conveyor speed, incorrect wavelength match, dirty optics, increased distance from lamp to part, pigmented or opaque substrates, and cure shadowing from part geometry. Thick bond lines also limit how deeply light can penetrate. Some adhesives cure beautifully in thin, clear joints but become unreliable in deep sections or partially shaded areas.
Production teams should verify actual dose at the bond line rather than relying only on equipment settings. If cure depends on transmission through plastic, that plastic grade, thickness, tint, and surface finish must be considered as part of the cure system, not just the part design.
Oxygen inhibition at the bond line
Some UV-curing systems are sensitive to oxygen, especially at exposed surfaces. Oxygen can interfere with free-radical polymerization and leave a tacky or incompletely cured surface layer. In a thin bond line, that may reduce final strength, encourage contamination pickup, or create inconsistent surface properties for downstream handling.
Oxygen inhibition is more noticeable in open films and edge-exposed joints than in fully enclosed bond areas, but it can still matter in precision assemblies. Corrective options may include changing adhesive chemistry, increasing dose, adjusting geometry, adding a secondary cure mechanism, or shielding the exposed area during cure.
Bubbles and trapped air during dispensing or assembly
Bubbles are not just cosmetic. Voids reduce effective bond area, create stress concentration points, scatter light in optical assemblies, and interfere with full cure. In potting-style or perimeter applications, trapped air may also become a moisture pathway.
Root causes include fast dispensing into narrow gaps, air entrainment during cartridge filling, poor static mixing, aggressive part placement, high viscosity relative to gap size, rough surfaces, and volatile contamination on the substrate. If the process uses manual dispensing, operator technique can be a major variable. If it uses automated dispensing, nozzle design, dispense speed, suck-back control, and bead path often need review.
Where rapid handling is needed, a grade such as ZDS-4018AB UV adhesive for fast-bonding applications may be worth evaluating, but only after checking whether the joint geometry and air-release behavior fit the process. Fast cure cannot compensate for poor bead placement or trapped voids.
Excessive bond-line thickness
Many UV adhesives perform best within a controlled thickness range. When the joint is too thick, several problems appear at once: limited light penetration, more shrinkage stress, higher heat buildup during cure, and slower release of trapped air. A thick joint may look cured near the edges while remaining soft or incompletely polymerized in the center.
Designers sometimes use thicker bond lines to compensate for poor flatness or part tolerance, but that choice can quietly create reliability risk. If a larger gap must be filled, the adhesive should be selected for that geometry, and cure validation should be performed on the real assembled section, not just on a lab drawdown.
Thermal expansion mismatch between bonded materials
Glass, aluminum, steel, PC, PMMA, and other substrates expand at different rates as temperature changes. A rigid UV adhesive placed between dissimilar materials may experience repeated stress during thermal cycling, especially when the bond area is large or the joint is constrained. Over time, this can cause edge cracking, peel initiation, or full debonding.
This is why a bond that passes initial lap shear may still fail in service. The real question is whether the cured adhesive can absorb movement without losing adhesion. In applications with temperature swings, we usually compare modulus, elongation, hardness, and long-term stability rather than focusing only on room-temperature strength.
Stress cracking in plastics and other sensitive substrates
Some plastics are vulnerable to environmental stress cracking when exposed to certain monomers, solvents, or cure shrinkage stress. A bond may appear strong at first, but the substrate itself begins to craze or crack around the joint. This is common in transparent plastic parts where cosmetic quality matters as much as structural performance.
The wrong adhesive can create microcracks during cure, especially if the part is highly stressed from molding or assembly. Troubleshooting should therefore include not only the adhesive but also molded-in stress, gate location, annealing condition, and exposure to cleaning agents. In sensitive plastic assemblies, a compatibility screen before production is essential.
Poor optical stability and yellowing under UV or heat exposure
Yellowing is a useful clue. It can indicate that the adhesive chemistry was not matched to sustained light exposure, elevated temperature, oxidation, or certain substrate interactions. In display, lighting, decorative, and transparent housing applications, even small color shifts may be unacceptable.
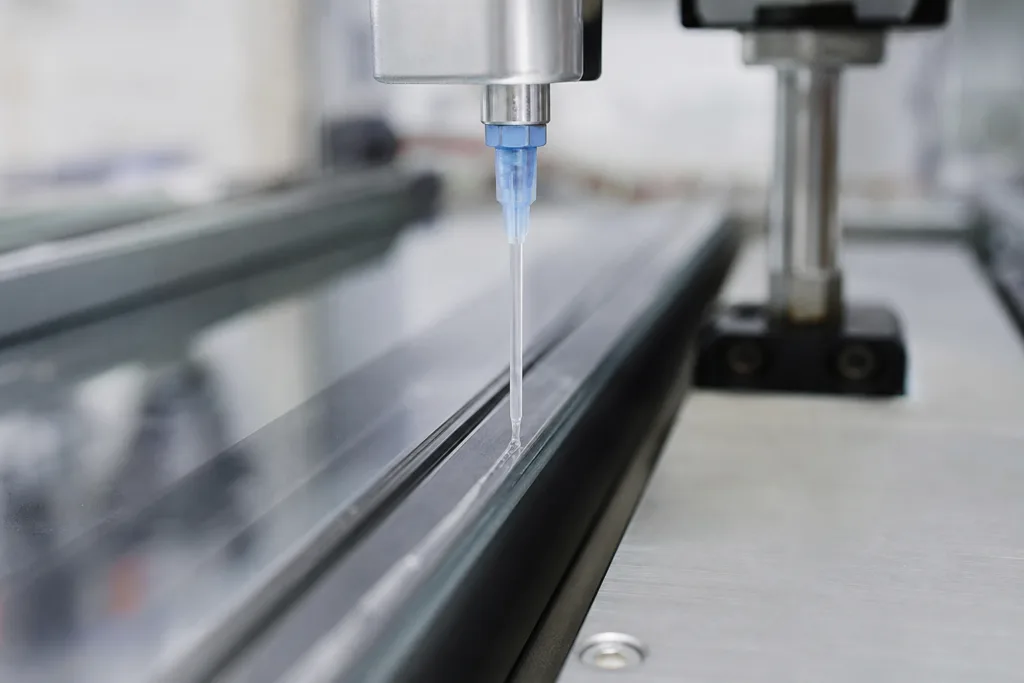
Not all yellowing means total bond failure, but it often correlates with long-term property drift. If the joint sees sunlight, LED proximity, or post-cure heat, optical stability should be evaluated as a primary requirement rather than a secondary cosmetic check. Accelerated aging, color observation, and clarity retention should be included in sample qualification when transparency matters.
Moisture exposure before, during, or after curing
Moisture can affect UV adhesive bonding in more than one way. Before curing, condensation or humid surface films can reduce wetting. During storage, moisture-sensitive packaging practices may influence consistency. After cure, repeated humidity or water exposure can weaken the interface, especially when the substrate surface was marginal from the start.
In assemblies that cycle between dry and humid conditions, small interfacial weaknesses become more visible over time. That is why humidity aging should be part of failure analysis for products used outdoors, in bathrooms, near cooling systems, or in electronics exposed to condensation risk.
Wrong viscosity for the process and gap geometry
Viscosity affects dispensing control, wet-out, bubble release, runnability, gap filling, and position stability before cure. If the adhesive is too thin, it may flow away from the intended bond line, create starvation areas, or contaminate nearby surfaces. If it is too thick, it may trap air, fail to wet fine surface texture, or require excessive pressure that disturbs part alignment.
Buyers sometimes compare products by cure speed and strength while underestimating viscosity fit. From our application perspective, viscosity should be chosen together with nozzle size, dispense pattern, gap dimension, assembly time, and substrate orientation. A good formulation on paper can become a poor production fit if rheology is wrong for the line.
Unrealistic application assumptions about fixture time, loading, or environment
Another common problem is expecting fixture strength to equal final performance. UV systems can reach handling strength quickly, but that does not mean the joint is ready for full mechanical load, aggressive cleaning, thermal shock, or packaging pressure immediately. If parts are moved, stacked, or stressed too soon, microdamage can occur before the adhesive reaches its intended cured state.
Likewise, a bond specified only for indoor room-temperature evaluation may later be used in heat, vibration, chemical splash, or outdoor humidity. When the real service environment is more severe than the qualification plan, failure should not be surprising. This is a planning issue as much as a material issue.
How to categorize failure symptoms by what you actually see
Weak adhesion versus cohesive failure versus interfacial failure
If cured adhesive remains on both substrates after failure, the bond may have failed cohesively, meaning the adhesive itself tore. If one surface is nearly clean, interfacial failure is more likely, pointing to wetting, contamination, or compatibility issues. Mixed failure often suggests multiple mechanisms working together. Good root-cause work starts with saving failed parts and documenting the fracture appearance before cleaning or retesting.
Yellowing, haze, and discoloration as stability clues
Color change helps distinguish process issues from aging issues. Haze may indicate bubbles, phase instability, or poor wetting. Edge yellowing may point to light or heat concentration. Uniform discoloration across the bond can suggest chemistry selection limits rather than operator error.
Bubbles, voids, and incomplete wet-out as process clues
Voids near the dispense start point often suggest air in the cartridge or nozzle. Voids in corners may indicate poor flow or premature fixture. A beaded appearance with poor edge spread often points to low wetting or contamination. When possible, sectioning failed assemblies can reveal whether bubbles were introduced before cure or formed later from outgassing.
Peeling, cracking, debonding, and soft cure as performance clues
Peel from one edge may indicate expansion mismatch or poor edge cure. Cracking through the adhesive often suggests brittleness or over-stress. Soft cure usually points back to UV dose, cure depth, wavelength mismatch, or oxygen inhibition. Observing when the failure appears is also useful: immediate failure usually differs from aging-related debonding after heat or humidity.
What test data helps identify the root cause
Good troubleshooting combines observation with targeted testing. At ZDS, we encourage customers to avoid broad retesting without a hypothesis. A smaller, better-structured test plan usually identifies the real variable faster.
| Test or check | What it can reveal | Typical value in diagnosis |
|---|---|---|
| Surface cleanliness and wetting check | Contamination, poor surface energy, handling variation | Confirms whether the interface was ever ready to bond |
| UV intensity and dose verification | Under-cure, lamp drift, cure inconsistency | Links equipment output to bond performance |
| Lap shear, peel, or tensile comparison | Strength differences across variables | Shows whether failure mode changes with process |
| Hardness and residual tack inspection | Surface cure quality, oxygen inhibition, incomplete cure | Useful for rapid screening before aging |
| Cross-section or cure depth review | Voids, shadowing, thickness problems | Validates geometry assumptions |
| Thermal and humidity aging | Expansion mismatch, moisture sensitivity, yellowing | Reveals delayed failure mechanisms |
For teams that need a structured screening program, adhesive sample testing support for failure diagnosis is often the fastest way to compare substrate lots, cure settings, and candidate formulations without jumping straight into bulk procurement.
How process conditions, equipment, and part design influence UV adhesive reliability
Process reliability depends on more than chemistry. Cure distance, lamp maintenance, optical shielding from fixtures, dispenser calibration, bond gap control, part flatness, and assembly timing all influence consistency. In one project, the adhesive may not be the issue at all; the true problem may be a worn lamp, a new plastic colorant, or a design revision that increased bond thickness.
Part design can also create hidden failure risk. Sharp corners concentrate stress. Large transparent windows may expose the adhesive to long-term light. Narrow channels trap air. Opaque inserts block cure. When we review applications, we look at the joint as a manufacturable system, not only as a materials list item.
When the issue is adhesive selection versus when it is the application process
A useful rule is this: if failures are random, intermittent, or operator-dependent, process variation is a strong suspect. If failures are repeatable across lots and worsen under specific environmental aging, material selection may be the larger issue. If both are true, the project may need a combined response: revised prep, tighter cure control, and a more suitable adhesive chemistry.
Procurement teams can support this work by asking better questions before approving a supplier or formula change:
- What substrates, coatings, and cleaning methods were actually tested?
- Was cure validated at the real bond thickness and through the real parts?
- What failure mode was observed after aging, not just at time zero?
- What packaging format fits the production line and shelf-life plan?
- Can viscosity, fixture speed, or flexibility be adjusted if trials expose a gap?
These questions matter because UV adhesive troubleshooting is rarely solved by price comparison alone. The most reliable supplier relationship usually includes sample support, clear process discussion, lot consistency, and realistic advice about limitations.
How we help customers diagnose UV adhesive failure more precisely
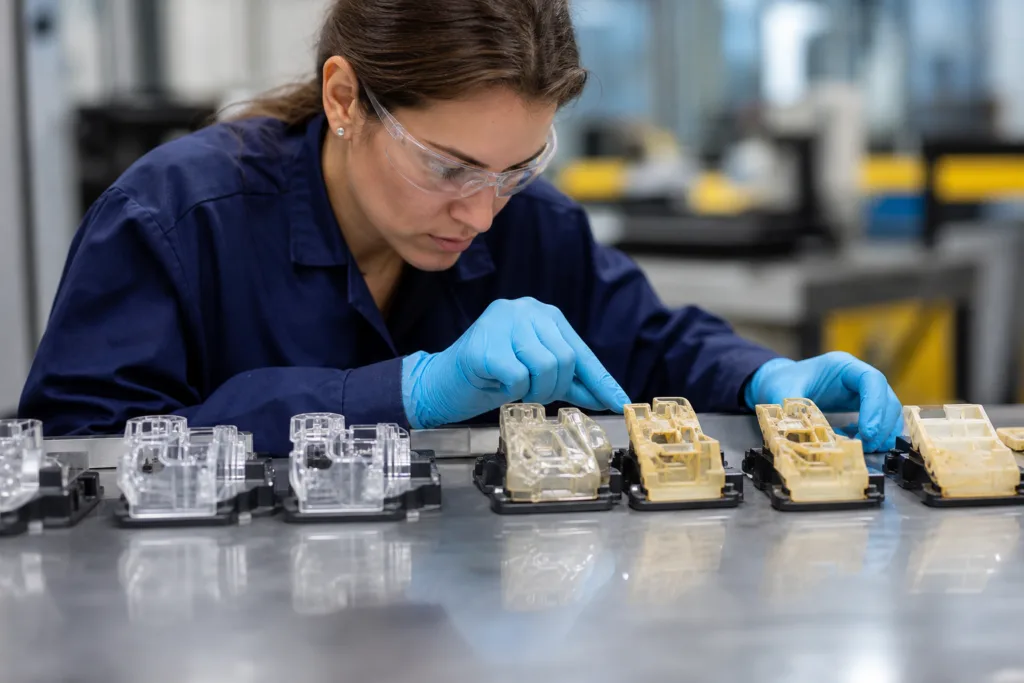
From our adhesive manufacturing perspective, the fastest improvements usually come from narrowing the problem statement. Instead of saying a UV adhesive failed, we ask where it failed, when it failed, under what cure conditions, on which substrate lot, at what thickness, and after which environmental exposure. That structured approach often separates a chemistry issue from a process-control issue in a short time.
We also recommend comparing candidate products only after the assembly conditions are defined. A new formulation may need different intensity, dispense pattern, or surface treatment to show its true advantage. The goal is not just to pass one bench test, but to build a bond system that remains stable through production and service life.
Conclusion
Most UV adhesive bond failures can be traced to a manageable set of causes: surface contamination, chemistry mismatch, insufficient cure, oxygen inhibition, bubbles, excessive bond thickness, thermal stress, substrate cracking, yellowing instability, moisture exposure, viscosity mismatch, and unrealistic service assumptions. The key is to treat UV adhesive failure causes as a diagnosis problem rather than a simple strength problem. When symptoms are documented carefully and linked to bond design, cure delivery, and aging behavior, corrective action becomes faster, cheaper, and more reliable.
For industrial buyers and engineers, the practical takeaway is simple: do not change adhesive blindly. First identify the symptom, locate the failure mode, confirm cure and surface condition, and test the joint under the real environment it will see in service. That is the path to fewer surprises in production and better long-term bonding performance.
FAQs
What is the most common cause of UV adhesive bond failure?
The most common cause is usually a combination of poor surface condition and incomplete cure rather than a single dramatic defect. In many production lines, contamination, low surface energy, or insufficient UV dose prevents the adhesive from forming a fully developed interface, so the bond looks acceptable at first but fails during handling, aging, or environmental exposure.
Can a UV adhesive feel cured but still fail later?
Yes. A UV adhesive can reach quick fixture strength while still being under-cured in thicker, shaded, or poorly illuminated areas. That partial cure may not be obvious during immediate handling, but it can lead to low final strength, soft interior sections, yellowing, reduced chemical resistance, or premature debonding after heat and humidity testing.
How do I tell whether failure is caused by the adhesive or by the process?
Start by checking failure consistency and fracture appearance. If failure is random, shift-dependent, or operator-dependent, the process is often a major factor. If failure is repeatable across controlled trials and appears after specific aging conditions, the adhesive selection may be the larger issue. In many cases, the real answer is an interaction between material choice and process control.
Why do bubbles matter so much in UV adhesive joints?
Bubbles reduce effective bond area and can block light, which makes cure less uniform through the joint. They also create local stress concentration points and may affect optical clarity in transparent assemblies. Even small voids can become larger reliability issues when the bonded part sees moisture, thermal cycling, or repeated loading.
Should I change adhesive immediately if I see yellowing?
Not always, but yellowing should be treated as a warning sign. The first step is to determine whether the change is caused by cure conditions, service temperature, UV exposure, or basic chemistry limitations. If the assembly requires long-term clarity or color stability, then yellowing should be included in qualification testing and may justify a different formulation.
What should I ask a UV adhesive supplier during failure analysis?
Ask which substrates and bond thicknesses were validated, what UV wavelength and dose the product expects, how viscosity fits your gap and dispensing method, what aging checks are recommended, and whether sample testing can be structured around your actual failure mode. A capable manufacturer should help connect symptoms to material, cure, and process variables instead of offering a generic replacement suggestion.