
PCB adhesive failures rarely come from a single bad event. In most electronics production environments, the real issue is a mismatch between adhesive chemistry, dispensing behavior, substrate condition, cure profile, board design, and the way the assembly line is actually running. When manufacturers investigate PCB adhesive failure causes, they often find that poor hold, voids, cracking, and long-term reliability loss are connected to several small deviations that compound over time rather than one obvious defect.
If your project involves component staking, board protection, selective reinforcement, or adhesive attachment under demanding thermal and mechanical conditions, reviewing PCB adhesive manufacturing options for electronics assemblies can help clarify what should be matched from the beginning: viscosity, dispensing method, cure route, green strength, substrate compatibility, and packaging format. At ZDS, we support this kind of evaluation from a manufacturing perspective, including formula adjustment, sample validation, OEM or private label planning, and production-consistency review for customers who need a more stable process rather than a generic adhesive replacement.
Why PCB Adhesive Failure Is Often a Process–Material Mismatch
In PCB assembly, an adhesive does not work in isolation. It must wet the target surface, hold its dispensed geometry, support components before and during cure, and then maintain adhesion through heat exposure, vibration, humidity, handling, and sometimes rework. A material that performs well in one line setup may fail in another if dispense pressure, needle size, dot spacing, board cleanliness, or cure energy changes.
From our formulation and production work, we generally divide failures into three categories: true material failure, process drift, and design mismatch. True material failure means the adhesive chemistry is fundamentally unsuited to the substrate or use environment. Process drift means the adhesive is capable, but actual viscosity, dispense volume, cure conditions, or storage control have moved outside the stable window. Design mismatch means the board layout, component mass, thermal expansion difference, or service environment creates stress the original adhesive concept was never designed to absorb.
This distinction matters for corrective action. If the problem is process drift, changing adhesive may only hide the issue temporarily. If the root cause is chemistry mismatch, tighter process control alone will not solve it. And if the board design creates concentrated stress at corners, edges, or unsupported spans, both process and material may need adjustment.
That is why troubleshooting should start with symptoms, then move backward through process records, cure behavior, and substrate interaction. In many cases, the fastest path is not asking which adhesive is strongest, but which adhesive remains stable in the real assembly window. For teams facing repeated defects across products or shifts, structured adhesive selection technical support for process-matched PCB builds is often more useful than comparing data sheets alone.
12 Common Root Causes of PCB Adhesive Failure
Wrong viscosity and poor dot shape
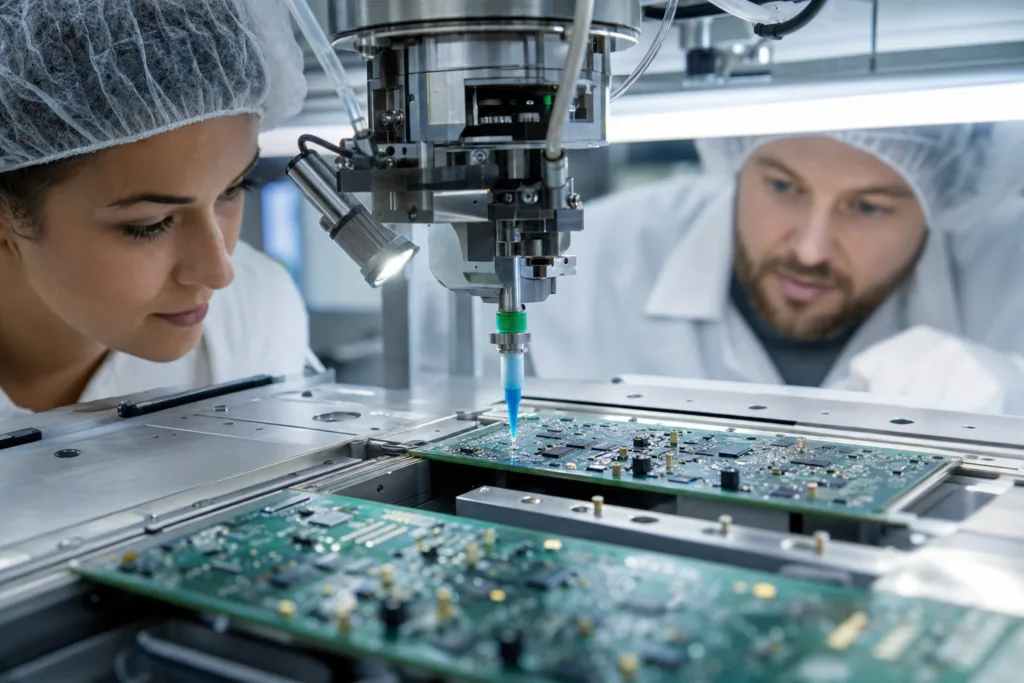
Viscosity controls how the adhesive dispenses, wets, stands up, and supports the component. If viscosity is too low, the dot may flatten, spread, or wick into unintended areas. If it is too high, the adhesive may form irregular peaks, poor contact, or inconsistent deposit volume. Both conditions can reduce effective bond area and destabilize placement.
In production, this shows up as variable dot size, poor repeatability between needles, stringing, tails, or incomplete wetting under the component. Buyers sometimes focus on nominal viscosity only, but the more useful question is whether the viscosity profile is appropriate at actual room temperature, line speed, and dispensing pressure.
Incomplete cure
Incomplete cure is one of the most common and most misdiagnosed failure modes. The adhesive may appear set on the surface while remaining under-cured internally. In heat-cure systems, this can come from insufficient temperature, uneven oven loading, shortened dwell time, or incorrect thermal transfer through the assembly. In UV systems, shadowed areas and poor light access are frequent causes. In two-part systems, incorrect mix ratio can produce the same result.
Under-cured adhesive often leads to soft bonds, creep, reduced strength, chemical instability, and progressive reliability loss after thermal aging. This is especially important when defect symptoms appear only after downstream processing or field exposure rather than immediately after cure.
Adhesive slump
Slump happens when the adhesive loses shape after dispensing and before full cure. The result may be spread outside the intended footprint, reduced bond-line control, or contact with adjacent features. On densely populated boards, slump can create alignment problems, bridging, or inconsistent stand-off support.
Slump is usually linked to low shape retention, excessive heating before gel, over-dispensing, or slow fixture development. We often recommend evaluating not just viscosity, but thixotropy and early-stage hold under actual line timing.
Component contamination
Contamination weakens adhesion even when the adhesive itself is correctly selected. Common sources include handling oils, dust, oxidation, mold-release traces, flux residue, solder-process byproducts, or cleaning-agent carryover. The bond may fail at the interface rather than inside the adhesive, which can make a decent adhesive look defective.
This is why surface condition must be reviewed whenever failures are localized to certain suppliers, shifts, or storage batches. If the failed area separates cleanly from the substrate, contamination or poor surface energy is often involved. Teams that need a broader troubleshooting framework can compare these symptoms with bond failure analysis methods for recurring adhesive defects to separate interface failure from cohesive failure more systematically.
Insufficient green strength
Green strength is the adhesive’s ability to hold the component before final cure or before the bond reaches full performance. In high-speed handling, vibration during transfer, or inverted assembly positions, low green strength can allow components to tilt, shift, or detach even though the final cured adhesive would have been strong enough.
This often becomes visible as placement drift between dispense and cure rather than after cure. If the line is accelerating, changing transport motion, or assembling heavier parts, the original adhesive may no longer provide enough early hold.
CTE mismatch
Coefficient of thermal expansion mismatch between the PCB, component body, lead frame, and adhesive can generate repeated stress during heating and cooling. A rigid adhesive may initially bond well but slowly develop edge lift, microcracking, or delamination after thermal cycles. Components with different expansion behavior than the board are especially vulnerable when the bond line is thick or stress is concentrated at corners.
From a reliability perspective, this is one reason short-term strength data can be misleading. Repeated thermal stress can convert a marginal bond into fracture, delamination, void growth, or fatigue-related failure over time, which aligns with industry concern around fracture, delamination, void formation, and thermal cycling reliability in electronic interconnect systems.
Trapped voids
Voids may form during mixing, cartridge filling, dispensing, under-component flow, or cure. They reduce effective contact area and can concentrate stress, trap moisture, or interfere with thermal and electrical performance depending on the application. In staking or reinforcement, voids reduce local support. In encapsulation and underfill-related situations, they can become major reliability risks.
Common causes include air entrapment, fast dispensing, poor wetting, incorrect dispense path, excessive viscosity, or cure shrinkage patterns that pull material away from corners. The root issue is often process-related, but the formulation may also need better flow control or deaeration behavior.
Wrong placement geometry
Even a suitable adhesive can fail if the dot is in the wrong place or the bead pattern does not match the component geometry. Too little material may produce weak support; too much may lift the part, spread beyond the target area, or increase shrinkage stress. Dot location relative to the component center of mass also matters. A stable adhesive bond depends on correct geometry, not just adhesive strength.
Production teams should review nozzle alignment, dispense program, standoff variation, and whether the adhesive actually contacts the intended surfaces after placement pressure is applied.
Excessive rigidity
Some adhesives cure into a hard, brittle state that is suitable for positional hold but poor for assemblies exposed to vibration, flexing, impact, or thermal cycling. When the cured modulus is too high, stress cannot be absorbed, so it moves directly into the bond interface or the component body.
This is one area where product category matters. In some electronics protection scenarios, a softer or more compliant material may outperform a stronger but brittle one. For example, when board protection and localized sealing are both needed, reviewing a material such as ZDS-201-10R circuit board protective glue for electronics helps illustrate why flexibility, insulation behavior, and cure profile can be just as important as nominal adhesion.
Moisture or heat exposure
Storage conditions and service environment both matter. Some PCB adhesives lose performance when repeatedly exposed to humidity, condensation, elevated temperature, or thermal shock. Others absorb moisture that later drives swelling, interface weakness, or crack propagation during heating.
Heat exposure can also accelerate oxidation or aging at the interface, especially when the original cure was already marginal. This is why reliability complaints that appear after burn-in, transport, or seasonal climate change should not be treated as random field defects.
Unrealistic rework expectations
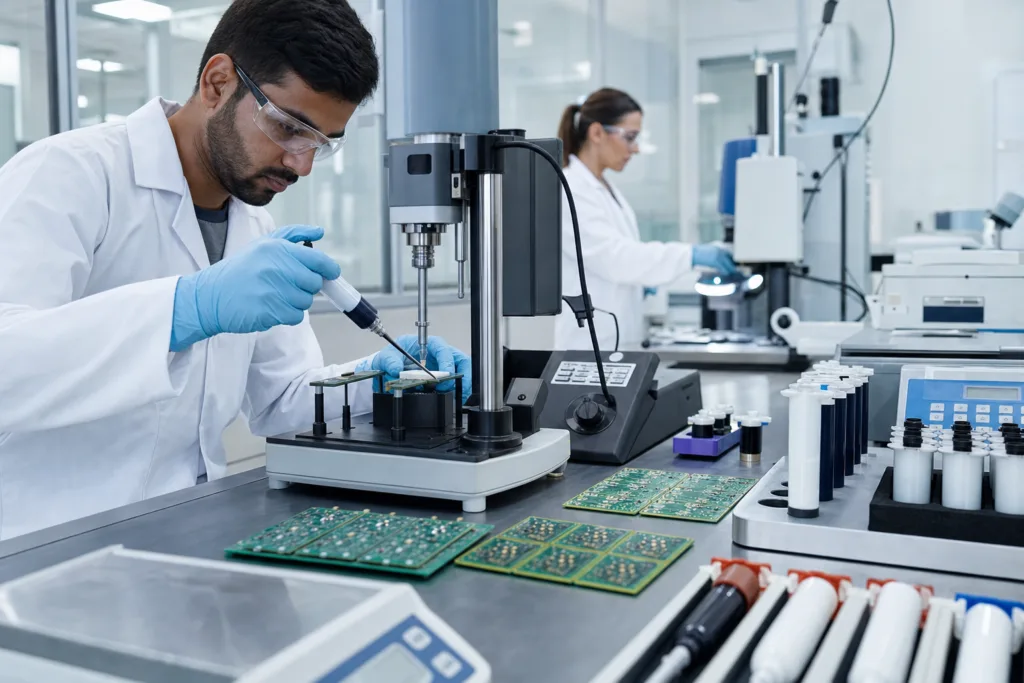
Not every adhesive is designed for repeated heating, component removal, or multiple assembly cycles. A bond that performs well in the original process may degrade sharply after rework because the polymer network, nearby substrate, or interface has already been stressed. Rework tools can also contaminate or damage the bonding surface before reapplication.
When procurement teams compare options, they should ask whether reworkability is a design requirement or merely an occasional hope. That changes adhesive selection significantly.
Incorrect storage, shelf life, or mixing control
Expired material, cold-chain breaks, moisture ingress, poor first-in-first-out practice, and incorrect mixing can all create unstable adhesive behavior. Viscosity drift, incomplete cure, poor wetting, and shortened working time often trace back to storage rather than formulation. Two-part systems are especially sensitive to mix ratio and mixing uniformity, while one-part systems may be sensitive to thaw time, skinning, or repeated temperature cycling.
At the supplier evaluation stage, this is where working with ZDS or another true manufacturer can be valuable, because batch control, packaging format, filling method, and shelf-life guidance directly influence line stability. These details are often more important than headline strength claims.
How to Categorize Failure Symptoms
Good troubleshooting starts by categorizing the visible symptom before debating the material. The same adhesive can fail in very different ways depending on when and where stress is introduced.
| Visible symptom | Most likely root-cause category | What to check first |
|---|---|---|
| Poor initial hold | Low viscosity, insufficient green strength, contamination | Dot shape, handling delay, surface cleanliness |
| Component shift before cure | Slump, weak fixture, wrong placement geometry | Dispense volume, line vibration, timing to cure |
| Edge lift or corner separation | CTE mismatch, incomplete wetting, rigid adhesive | Thermal history, bond-line thickness, interface condition |
| Voids inside bond area | Air entrapment, poor flow, mixing issues | Dispense path, deaeration, cartridge fill condition |
| Cracking after thermal cycling | Excessive rigidity, CTE mismatch, under-cure | Cure profile, modulus, thermal cycle records |
| Gradual reliability loss in field | Moisture uptake, heat aging, marginal cure | Environmental exposure, retained samples, aging tests |
Failure timing is a major clue. If the defect appears immediately after dispensing, start with rheology and geometry. If it appears after cure, review cure completeness and shrinkage stress. If it appears after aging, focus on environmental resistance, thermal expansion mismatch, and interface durability.
Location also matters. Random failures across the full board often suggest process instability. Failures concentrated around one component family may indicate geometry or substrate mismatch. Failures linked to certain lots or production dates often point to storage, contamination, or process drift.
What Production Records Help Identify the Root Cause
When we help customers review electronics adhesive problems, the most useful information is rarely a single failed sample. The better approach is comparing failed batches against stable batches and looking for pattern changes in the process record.
Useful records include:
- Adhesive lot number and date of use
- Shelf life status and storage temperature history
- Thaw time, open time, and pot life records where relevant
- Dispensing pressure, shot size, needle size, and cycle time
- Ambient temperature and humidity during application
- Board cleaning method and contamination events
- Cure temperature, dwell time, oven loading, and actual measured profile
- Rework history and number of heat exposures
- Incoming component supplier changes
- Defect photos, cross-sections, and board location maps
Photos are especially helpful when taken at multiple stages: after dispensing, after placement, after cure, and after reliability exposure. That sequence often reveals whether the problem begins with geometry, develops during cure, or grows later under stress.
For assemblies where the adhesive also contributes to environmental protection, it can be useful to review whether the job actually needs staking only, localized sealing, or a broader protective approach. In some cases, the problem is that a staking adhesive is being asked to perform like an encapsulant, and then more suitable potting adhesive options for protecting sensitive electronics should be considered for the vulnerable area instead.
What Tests and Checks Confirm the Cause
After narrowing the suspected cause, confirmation testing should match the failure mode. Testing the adhesive alone is not always enough. In many PCB applications, the substrate, component finish, and full assembly geometry determine the outcome as much as the polymer chemistry does.
Practical confirmation checks include:
- Viscosity verification: compare fresh, aged, and line-exposed material to check drift.
- Dispense profile review: inspect dot height, spread, and repeatability under actual settings.
- Cure verification: evaluate hardness development, tack-free behavior, and if needed, thermal analysis or solvent resistance screening appropriate to the chemistry.
- Bond-strength testing: compare stable versus failed process conditions using the same substrates.
- Cross-section analysis: look for voids, poor wetting, gaps, or crack initiation points.
- Thermal cycling: useful when failure appears after temperature swings or power cycling.
- Humidity or heat aging: helpful when field returns suggest environmental degradation.
- Interface review: determine whether the bond failed cohesively, adhesively, or by substrate damage.
One common mistake is to over-interpret a room-temperature pull test. A bond may pass that test and still fail in service because it lacks thermal fatigue resistance or moisture durability. Another mistake is testing only the adhesive coupon rather than the real board assembly with its actual component mass, pad spacing, and thermal path.
How ZDS Helps Customers Diagnose PCB Adhesive Problems More Precisely
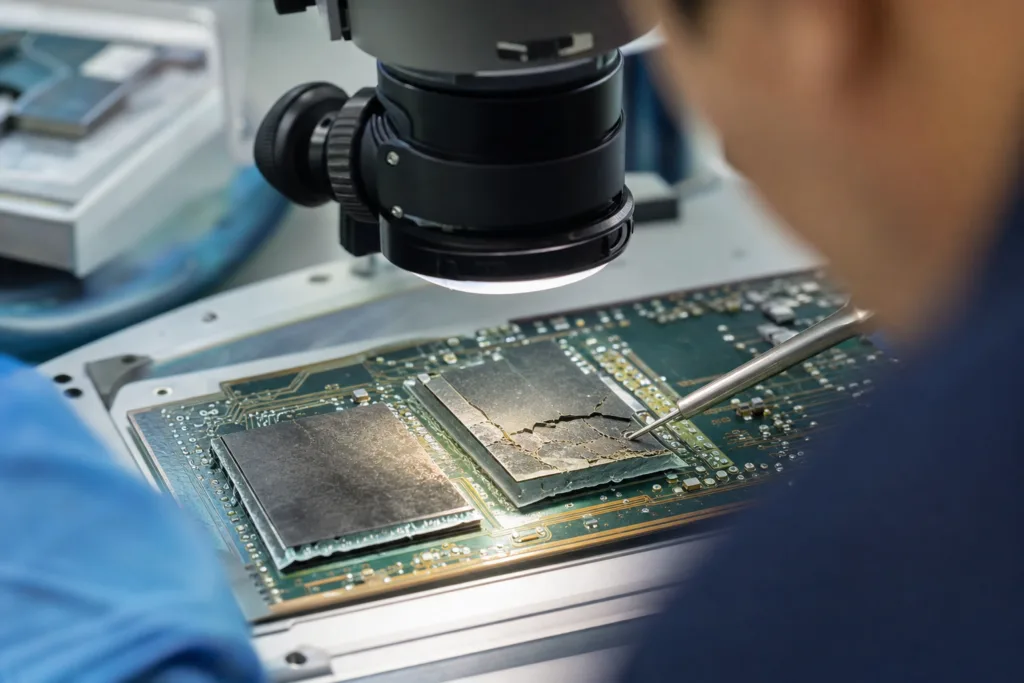
From our adhesive manufacturing perspective, solving PCB adhesive failure causes starts with defining the real operating window. We ask what components are being secured, what substrates are involved, how the adhesive is dispensed, what cure route is available, and what reliability exposure the assembly must survive. A useful recommendation depends on the full process, not just the generic application label.
At ZDS, we typically review several factors together: substrate compatibility, line speed, dot or bead geometry, required green strength, cure behavior, modulus target, thermal exposure, electrical needs, and packaging format. If needed, we can discuss whether the issue is more likely solved by formula adjustment, viscosity tuning, flexibility change, cure-speed optimization, or tighter process control during sampling.
For buyers and engineers, the most helpful data to share usually includes failed and successful sample photos, substrate details, board layout around the defect zone, existing TDS information, dispense settings, cure profile, storage history, and whether rework is expected. With that information, a manufacturer can evaluate whether the current issue reflects misuse, process drift, or a true material mismatch.
Custom formulation support is most valuable when the line cannot easily change but the adhesive can. Typical examples include needing higher green strength without excessive rigidity, lower slump with the same dispensing equipment, improved thermal cycling tolerance, or a packaging change that reduces moisture exposure and handling error in production.
Conclusion
Most PCB adhesive problems become easier to solve once the team stops treating them as isolated defects. Poor hold, voids, cracking, and reliability loss usually come from a chain of interactions involving material behavior, dispensing control, cure completeness, surface condition, geometry, and service stress. The most effective response is to match the symptom to the stage where failure begins, then confirm the suspected cause with process records and focused testing.
For manufacturers evaluating PCB adhesive failure causes, the key question is not only whether the adhesive can bond, but whether it can bond consistently in the actual production window and remain reliable through the assembly’s real environment. That is where process review, sample comparison, and manufacturer-level formulation insight create the biggest improvement.
FAQs
How can we tell whether PCB adhesive failure is caused by the material or the process?
The fastest way is to compare failed units with stable units using the same adhesive lot, substrate, and cure route, then check what changed in dispensing, storage, cleanliness, placement, or cure conditions. If the adhesive works under controlled repeat conditions, the problem is usually process drift or contamination. If failure continues across stable process settings, the chemistry or cured property profile may be mismatched to the application.
What is the most common reason a PCB adhesive seems strong at first but fails later?
Late failure often points to incomplete cure, excessive rigidity, CTE mismatch, or environmental aging rather than low initial strength. The bond may survive immediate handling but lose reliability after thermal cycling, humidity exposure, or repeated heating. That is why short-term hold should always be reviewed together with cure completeness and long-term stress conditions.
Should we change adhesive immediately if we see voids or cracking?
Not always. Voids and cracking can come from dispensing speed, air entrapment, dot geometry, cure shrinkage, thermal stress, or substrate contamination. Before changing material, confirm whether the defect is process-generated or chemistry-driven by checking cross-sections, cure profile, viscosity behavior, and whether the defect appears only in certain lots, shifts, or board designs.
What sample data should we send a manufacturer when asking for troubleshooting help?
The most useful package includes photos before and after cure, failure photos after testing or field return, adhesive product information, lot number, storage history, dispense settings, cure profile, board and component materials, defect rate, and whether rework occurred. If available, include cross-sections and a comparison between good and bad batches. That allows the manufacturer to evaluate process fit instead of guessing from the symptom alone.
Can a custom adhesive formulation reduce recurring PCB assembly defects?
Yes, when the root problem is property mismatch rather than basic process error. A custom formulation may improve viscosity stability, green strength, flexibility, cure speed, slump resistance, or environmental durability while staying compatible with existing dispensing equipment and production rhythm. It is most useful when the line setup is relatively fixed and repeated issues appear under otherwise controlled conditions.
How do storage and shelf life affect PCB adhesive reliability?
Storage and shelf life directly affect viscosity, wetting, cure response, and consistency from batch to batch. Material that is expired, moisture-exposed, repeatedly warmed and cooled, or mixed incorrectly can behave unpredictably even if the formula is suitable. Good FIFO control, correct storage temperature, and clear handling procedures are essential parts of adhesive reliability, especially in electronics production.