
In UV bonding, the gap is not a minor detail. UV adhesive bond line thickness can change whether the adhesive cures completely, whether the joint stays clear, and whether the final assembly holds up in service. Buyers often focus on substrate type and lamp power first, but many real production problems start with joint geometry: too much adhesive, uneven spacing, trapped bubbles, or a shadowed area that light cannot reach. If your team is evaluating glass, clear plastic, display, lens, or electronics assemblies, it helps to review UV adhesive manufacturing solutions in the context of actual bond-line thickness rather than a simple product label.
This guide explains how thickness influences cure depth, transparency, stress, and bond reliability, and what technical information to prepare before asking a supplier to recommend a UV system.
Why Bond-Line Thickness Matters More in UV Cure Than Many Buyers Expect
Many adhesive chemistries can tolerate a range of gap conditions, but UV systems are especially sensitive because curing depends on light reaching the adhesive volume effectively. A thin, well-controlled bond line between light-transmitting parts may cure quickly and uniformly. The same adhesive placed in a thicker pocket, or in a joint with partial shadowing, can behave very differently.
That is why a UV adhesive chosen from a data sheet may work well in one assembly and fail in another that uses the same substrates but a different gap. The buyer problem is usually not “Is this a UV adhesive?” but “Will this adhesive cure through my real joint geometry and still meet optical and mechanical expectations?” Teams that understand how UV curable adhesives work generally make better decisions about fixture design, dosing, inspection, and sample testing.
Bond-line thickness affects several linked outcomes:
- How far curing light can penetrate through the adhesive mass
- How evenly the material polymerizes from surface to depth
- How visible bubbles, flow marks, and edge defects become
- How cure shrinkage stress is distributed across the joint
- How repeatable the process remains from part to part
How UV Adhesives Cure: Light Penetration, Oxygen Inhibition, and Cure Depth Limits
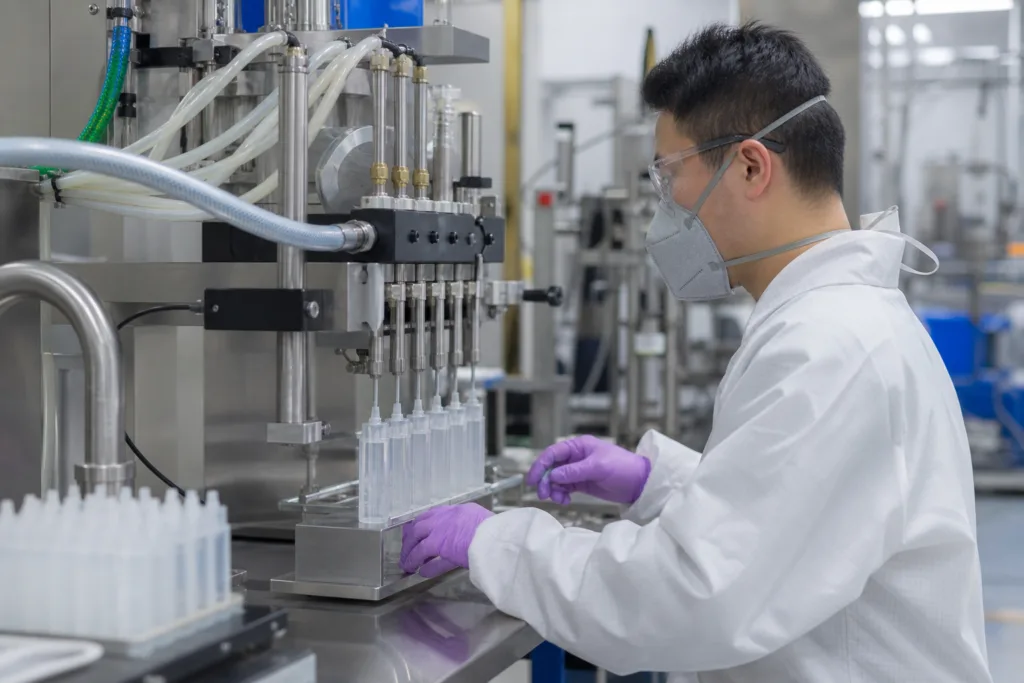
UV adhesives cure when the photoinitiator package reacts to the right wavelength and sufficient light intensity. In simple terms, curing works best when light reaches the full adhesive volume and the exposure is appropriate for the selected formulation. Thin sections are easier because the light path is shorter and the cure is more uniform.
In thicker sections, light can be absorbed, scattered, or blocked before it reaches the full depth of the bond line. This is especially important when one or both substrates reduce transmission, contain tint, texture, fillers, or coatings, or create shadow zones near corners and hardware. A useful technical reference on UV cure depth and substrate transmission requirements is this guide from Dymax, which explains why full exposure and light access are fundamental to reliable UV curing.
Surface cure can also be influenced by oxygen inhibition in some systems, especially where the adhesive is exposed to air rather than enclosed between substrates. That means an exposed fillet may remain tacky even if the bond area between parts is more fully cured, or the reverse may happen if the interior depth receives insufficient light.
For buyers, the practical takeaway is straightforward: cure speed claims should never be separated from actual bond-line thickness, substrate transmission, lamp setup, and exposed versus enclosed geometry.
Thin Bond Lines and Fast Cure: When UV Adhesives Perform Best
UV adhesives often perform best in relatively thin, controlled bond lines where light can pass through the joint efficiently. Typical examples include glass-to-glass decorative assemblies, PMMA covers, optical component positioning, and clear plastic bonding where the joint is designed to be narrow and uniform.
Thin bond lines can offer several advantages:
- More reliable through-cure because the light path is shorter
- Faster takt times when the exposure conditions are well matched
- Lower risk of visible haze or trapped voids in clear joints
- More consistent appearance around the bonded perimeter
- Reduced variation caused by excess dispense volume
However, thin is not automatically better in every design. If the parts are not flat, if tolerance stack-up is high, or if the assembly experiences differential thermal movement, an extremely thin gap may create stress concentration or leave unbonded areas. Bond design still has to fit the real part geometry and service conditions.
For clear plastics where capillary flow and low viscosity are important, a product class such as ZDS-2203023 ultra-low-viscosity UV adhesive for PMMA and PC may be relevant to review, but final suitability still depends on the exact gap, plastic grade, light access, and visual quality requirements.
Thick Bond Lines and Light-Penetration Risk: Why Thick UV Adhesive May Not Cure Fully
Thicker bond lines create a basic UV-curing challenge: the adhesive nearest the light source begins to react first, while deeper regions may receive less effective exposure. If the formulation, substrate transmission, lamp setup, and bond geometry are not aligned, the result can be a gradient cure rather than a uniform cure.
In production, this can show up as:
- A surface that feels cured while the interior remains softer
- Unexpected movement after initial fixture cure
- White edges, stress lines, or cracks appearing later
- Odor or residue indicating incomplete cure
- Strength variation between apparently identical parts
Thick adhesive sections are also more likely to trap bubbles and create a visibly distorted bond zone, especially in transparent assemblies. Where the design demands a larger gap, teams may need to consider whether UV alone is enough, whether a dual-cure or secondary cure mechanism is needed, or whether the joint should be redesigned for better light access and more consistent adhesive volume.
This does not mean thick sections are impossible, but they are less forgiving. The key is to validate the real part, not just a flat coupon.
How Thickness Affects Transparency, Bubble Visibility, and Visual Quality
For decorative glass, consumer-facing plastic parts, displays, lenses, and optical subassemblies, visual quality can be as important as strength. A thicker bond line tends to make defects easier to see. Even a small bubble that may be acceptable in a thin joint can become obvious when magnified through a thicker clear adhesive layer.
Thickness can influence appearance in several ways:
- Bubbles have more volume to remain suspended instead of escaping
- Flow lines and meniscus irregularity become easier to notice
- Internal haze or slight color can be more visible through depth
- Cure shrinkage can create stress patterns in transparent substrates
- Uneven gaps can produce optical distortion or a wavy appearance
Optical assemblies need especially careful balance between cure speed, low stress, and clarity. A relevant external reference from Dymax discusses why optical bonding applications require controlled curing and low-stress performance to avoid distortion and visible defects.
For projects focused on glass appearance, crystal parts, or clear decorative bonding, a product category such as ZDS-3125c high-transparency UV adhesive for glass and crystal may be worth reviewing with the actual joint dimensions and inspection criteria in mind.
How Bond-Line Thickness Influences Final Strength, Shrinkage Stress, and Crack Risk
Mechanical performance is not determined by chemistry alone. Bond-line thickness changes how load is transmitted and how cure shrinkage stress accumulates inside the joint. In general selection guidance, controlled bond lines are easier to reproduce and often give more consistent joint performance than uncontrolled thick pools of adhesive.
A technical article from Master Bond provides useful general guidance on bond-line thickness and joint strength, including why excessive thickness can reduce consistency and increase stress-related problems in some adhesive assemblies.
In UV-bonded assemblies, a thick section can create risk in three ways:
- More shrinkage volume: as the adhesive cures, a larger mass can generate more internal stress.
- Less uniform cure: if the top and bottom of the bond line cure differently, the joint may contain residual stress.
- Brittle failure risk: rigid clear substrates such as glass or some plastics may crack if the cured adhesive pulls unevenly or if service loads concentrate at edges.
At the same time, a bond line that is too thin for the real assembly may also be problematic if it cannot accommodate surface irregularity, thermal expansion differences, or practical manufacturing tolerance. The best thickness is usually the thickness that balances cure reliability, stress control, appearance, and production repeatability for that specific joint.
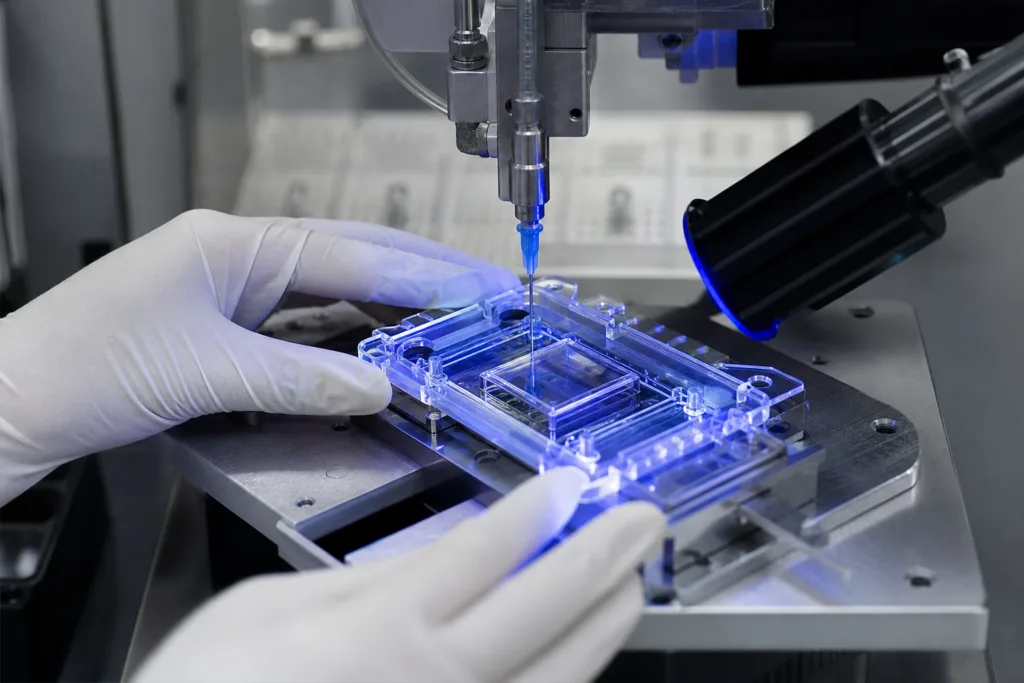
Joint Design Considerations for Glass, Plastic, and Electronics
Different industries experience bond-line thickness in different ways.
Glass assemblies
Glass-to-glass and glass-to-metal decorative joints often prioritize transparency and edge quality. Here, excess thickness may create visible bubbles, lensing effects, or stress marks. Uniform spacing and controlled dispense volume matter more than simply using a “clear” adhesive.
Plastic assemblies
Clear plastics introduce another variable: some grades transmit UV well, while others absorb or scatter more light. Surface coatings, tint, molded texture, and internal stress in the plastic can all change cure behavior. Some plastics also respond badly to aggressive cure shrinkage or solvent-sensitive formulations.
Electronics assemblies
In electronics, the goal may be component staking, display bonding, lens fixing, wire tacking, or transparent cover attachment. Small shadow areas from housings, bezels, pins, or component height differences can leave local undercure. Teams needing support for these assembly constraints may benefit from adhesive selection technical support for joint geometry before scaling a process.
Substrate and Geometry Factors That Change Effective Cure Performance
Two bond lines with the same nominal thickness may not cure the same way. Effective cure depends on the whole optical path and the real shape of the joint.
Key variables include:
- Whether one or both substrates transmit the required UV wavelength
- Color, coating, printing, metallization, or surface treatment on the parts
- Corner radii, pockets, ribs, bosses, and hidden edges
- Adhesive color, fillers, or fluorescence requirements
- Distance from lamp to part and exposure uniformity
- Whether curing is done from one side or both sides
- Part temperature during exposure
That is why sample success on flat lab coupons may not predict success on a formed component or assembled module. The geometry changes the light path, and the light path changes the cure result.
UV Adhesive Gap Control: Recommended Design and Process Approaches
If bond-line thickness is critical, it should be controlled deliberately rather than left to dispense variation or operator feel. Buyers and engineers should evaluate both design controls and process controls.
| Control area | Why it matters | Typical questions to ask |
|---|---|---|
| Part spacing | Defines actual bond thickness | Are there stops, shims, beads, or molded features controlling the gap? |
| Adhesive viscosity | Affects flow into thin gaps or retention in vertical joints | Should the adhesive wick, stay in place, or self-level? |
| Dispense volume | Too much material increases thickness and bubble risk | Is volume controlled by time-pressure, jetting, needle size, or positive displacement? |
| Light access | Determines whether full-depth cure is possible | Is exposure from one side enough, or is multi-angle curing needed? |
| Inspection method | Confirms consistency lot to lot and shift to shift | How will the team verify cure through the whole bond line? |
Some buyers also compare liquid UV adhesives with UV-curable film formats where thickness control is built into the material format. A reference such as the 3M UV activated film data sheet shows how engineered adhesive thickness can support repeatability in certain assemblies. That does not make film universally better than liquid, but it is a useful reminder that thickness control is a design variable, not just an application outcome.
How to Test Whether the Adhesive Is Fully Cured Through the Entire Bond Line
Because undercure can hide inside the joint, final approval should rely on representative-part testing, not only surface appearance. Depending on the application, validation may include:
- Cross-section review of cured samples
- Hardness or tack comparison at different areas of the joint
- Destructive bond testing after full post-cure interval
- Aging under heat, humidity, or chemical exposure relevant to service conditions
- Optical inspection for bubbles, haze, or stress patterns
- Electrical or functional testing if the bonded part is part of an active assembly
Buyers should request the current technical data sheet and safety data sheet for the candidate product, then confirm whether the documented cure guidance matches the actual substrates, lamp conditions, and target bond-line range. If there are shadowed regions or uncertain depth cure, discuss this early rather than after pilot failures.
Common Mistakes That Cause Poor Cure, Weak Bonds, or Optical Defects
Several recurring problems are linked directly to uncontrolled thickness:
- Choosing a UV adhesive based only on substrate names without reviewing gap size
- Assuming a stronger lamp automatically solves a thick or shadowed joint
- Over-dispensing to ensure coverage, then creating a cure-depth problem
- Ignoring trapped air during assembly of clear parts
- Using the same process for flat coupons and three-dimensional production parts
- Judging cure by dry surface feel alone
- Not accounting for coatings, tint, or reduced UV transmission in plastics
Many of these issues can be reduced by discussing the real joint geometry early and using the pillar resource again to compare UV adhesive options for production bonding with substrate, gap, exposure, and appearance requirements listed clearly.
How to Match UV Adhesive Rheology to Joint Geometry and Production Requirements
Rheology determines how the material flows before cure. This is a major selection factor because thickness control is influenced by viscosity as much as by lamp output.
As general guidance:
- Low-viscosity grades are often used where capillary action or fast wetting into narrow gaps is needed.
- Medium-viscosity grades may offer a balance between flow and positional control.
- Higher-viscosity grades can help where the adhesive must stay in place on vertical surfaces or around edges before exposure.
The right choice depends on whether the adhesive must wick, bridge, self-level, resist squeeze-out, or maintain a visible meniscus. Production speed also matters: a process designed for manual placement may need different flow behavior than a high-speed automated line.
When to Ask for Custom UV Adhesive Formulation or Manufacturer Support
Standard grades are often a good starting point, but some projects justify deeper review. Manufacturer input is especially useful when:
- The bond-line thickness varies across the same part
- Transparency and low-stress appearance are both critical
- One substrate transmits UV poorly
- The assembly contains partially shadowed areas
- The process needs a specific viscosity window or dispensing behavior
- Packaging format must match automated production equipment
- Private-label or OEM supply planning is part of the project
In these situations, ZDS LTD can review substrates, drawings, gap targets, application method, curing setup, and document requirements to determine whether product matching, sample evaluation, or formulation discussion is appropriate. The practical starting point is to share the actual part geometry and production conditions, not only the material names.
Practical Selection Checklist for Buyers and Production Teams
Before requesting a recommendation or quotation, prepare this information:
- Substrates to be bonded, including coatings or tint
- Minimum and maximum bond-line thickness in production
- Whether the joint is enclosed, exposed, or partially shadowed
- Required visual quality standard for bubbles, haze, and edge appearance
- Curing method, lamp type, exposure direction, and process speed
- Mechanical loads, impact risk, and expected service environment
- Need for low viscosity, non-sag behavior, or precise dispensing
- Packaging preference for trials and larger-volume supply
- Any compliance, documentation, or export requirements to be confirmed
The more complete the input, the lower the sourcing risk. It also helps separate a chemistry mismatch from a design or process-control issue.
Frequently Asked Questions
Can a UV adhesive look cured on the surface but remain uncured inside a thick bond line?
Yes. In thicker or poorly illuminated joints, the adhesive near the light source may cure more fully than deeper regions. That is why representative-part testing and cross-section or destructive evaluation are important before production approval.
Does a thinner UV adhesive bond line always give higher strength?
No. A controlled thin bond line often improves cure consistency and appearance, but the best thickness depends on substrate flatness, tolerance, thermal movement, and load case. Final strength must be verified on the actual assembly design.
Why do bubbles become more visible in thicker clear UV adhesive joints?
Thicker clear bond lines make internal voids easier to see and give bubbles more volume to remain trapped. Uneven dispensing, fast assembly, and poor venting can make this worse in optical or decorative parts.
What information should we send when asking for a UV adhesive recommendation?
Provide the substrates, joint drawing or photos, bond-line range, curing method, production speed, visual requirements, service conditions, and any documentation needs. This allows a manufacturer to evaluate chemistry and process fit more accurately.
When should we consider custom formulation instead of a standard UV adhesive?
Consider it when standard products do not balance cure depth, clarity, viscosity, shadow tolerance, or process requirements for your geometry. The need must be reviewed against the real part, curing setup, and production goals.