
When an adhesive bond weak after water exposure shows up in production or field use, the first reaction is often to blame the adhesive chemistry. In our experience, that explanation is sometimes correct, but it is rarely the whole story. Water can reduce bond performance through multiple pathways: it can attack the interface, travel through bond-line defects, soften certain substrates, amplify thermal stress, reveal incomplete cure, or exploit weak process control. That is why two assemblies using the same adhesive can behave very differently under humidity, splash, condensation, washdown, or immersion.
If your project involves sealing, bonding, or encapsulating parts that face humidity, cleaning cycles, outdoor exposure, or direct contact with water, our waterproofing adhesive solutions for moisture-exposed assemblies are relevant because the right result depends on more than label claims. We help manufacturers match chemistry to substrate, tune viscosity and cure behavior to the process, evaluate sample performance under realistic exposure, and plan OEM or private label production with consistent packaging and batch stability for wet-service applications.
Wet-service bond failure is often multifactorial. A nominally waterproof adhesive may still fail if the surface was contaminated, if the bond perimeter lets water in, if cure was incomplete, or if the joint was designed for static indoor service rather than repeated temperature swings and mechanical load. For engineers and sourcing teams, the practical goal is not to find one simple culprit too quickly. It is to separate chemistry limitations from design, surface, and process issues, then confirm the real failure path with evidence.
Why Water Exposure Can Reduce Bond Performance Even When the Adhesive Is Technically Waterproof
“Waterproof” is not a universal performance guarantee. It may describe bulk material resistance, but a bond is a system made of adhesive, substrates, interface condition, joint geometry, cure history, and service environment. Water does not need to dissolve the adhesive to cause trouble. It can diffuse slowly into the bond line, collect at weak interfaces, carry contaminants into defects, or accelerate stress cracking from expansion and contraction.
This is one reason moisture-related failure should be evaluated as a durability issue, not just a product-name issue. From our manufacturing perspective, we usually ask several questions early: Is the water exposure splash, condensation, humidity cycling, temporary immersion, or continuous immersion? Is the load static, impact, peel, or vibration? Are the substrates porous, coated, oily, absorbent, or dimensionally unstable? Did the assembly see full cure before exposure? The answers often explain more than the adhesive family name alone.
Research such as NIST research on moisture attack in adhesive bonds also supports what many production teams observe in practice: moisture can reduce bond durability through interfacial weakening and not only through obvious bulk material breakdown. That distinction matters because the visible symptom may look like “wrong glue,” while the actual mechanism is water-assisted interface failure.
Why Wet-Service Failure Is Often Multifactorial
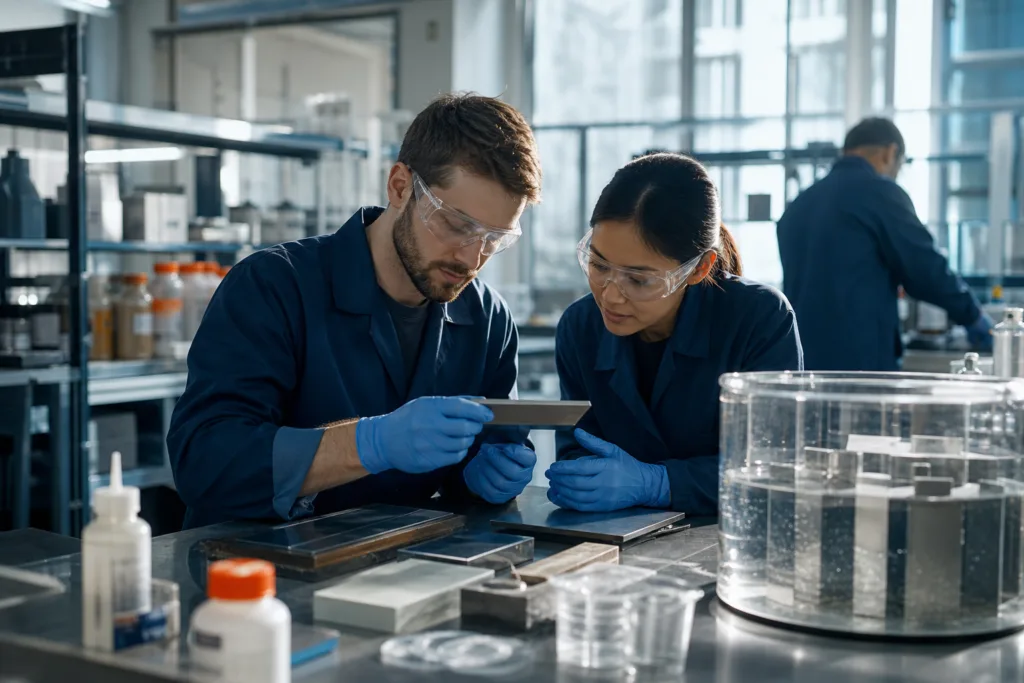
In failure review, water is frequently the trigger that exposes a hidden weakness already present in the assembly. A marginal surface clean, a poorly controlled mix ratio, a bond line with trapped voids, or a sharp-edge joint that invites ingress may survive initial room-temperature testing but fail weeks later in humid service. That is why troubleshooting should consider the complete bonding system.
| Observed symptom | Possible underlying cause | What to verify |
|---|---|---|
| Bond opens first at edges | Edge ingress, poor wet-out, contamination at perimeter | Joint design, coverage, edge seal, fracture origin |
| Bond feels soft after water exposure | Under-cure, plasticization, substrate softening | Cure record, hardness change, exposure temperature |
| Strength loss only after cycling | Thermal stress, differential expansion, microcracks | Service temperature range, CTE mismatch, crack pattern |
| Random failures batch to batch | Surface inconsistency, pot life variation, contamination | Prep records, dispensing history, operator sequence |
| Failure only on one substrate lot | Coating change, release residue, moisture uptake | Incoming material condition, coating chemistry, cleanliness |
10 Root Causes of Adhesive Bond Weakening After Water Exposure
Poor substrate compatibility
Some substrates are simply harder to bond durably in wet service than others. Low-surface-energy plastics, certain coated metals, powder-coated parts, oily rubbers, and moisture-sensitive composites can all produce weak or inconsistent interfaces. Even when initial adhesion looks acceptable, water can collect at the interface and reduce adhesion over time if the adhesive-substrate combination is not robust enough for the environment.
Substrate compatibility is not only about “does it stick on day one?” It is about whether the interface remains stable after humidity, washdown chemicals, or immersion. Surface chemistry, porosity, oxide layers, primers, and coatings all influence moisture resistance. In practice, we often recommend testing on real production substrates rather than generic panels, especially when there are paint systems, conversion coatings, filled plastics, or vendor-to-vendor substrate changes.
Edge ingress and water pathways at the bond perimeter
Many joints do not fail through the middle first. They fail at the perimeter, where water enters through exposed edges, capillary gaps, sharp corners, or incomplete squeeze-out. Once moisture reaches a weak interface or void network, damage can progress inward. This is common in lap joints, housings, covers, display frames, and bonded assemblies that see outdoor weathering or repeated washing.
Corrective action may involve more than changing adhesive type. You may need a geometry that minimizes exposed edge length, a fillet that reduces pathways, tighter part fit, or a sealant strategy around the bond boundary. For assemblies that need both bonding and environmental protection, an adhesive with suitable gap-filling and edge sealing behavior can outperform a nominally stronger product that leaves the perimeter vulnerable.
Voids, gaps, or incomplete wet-out in the bond line
Void content matters because water needs pathways. Air pockets, dry spots, uneven dispense patterns, trapped bubbles, or poor substrate wetting can create channels where water accumulates and local stress rises. Once that happens, even a chemically resistant adhesive may show localized failure because the actual bond area is much smaller than intended.
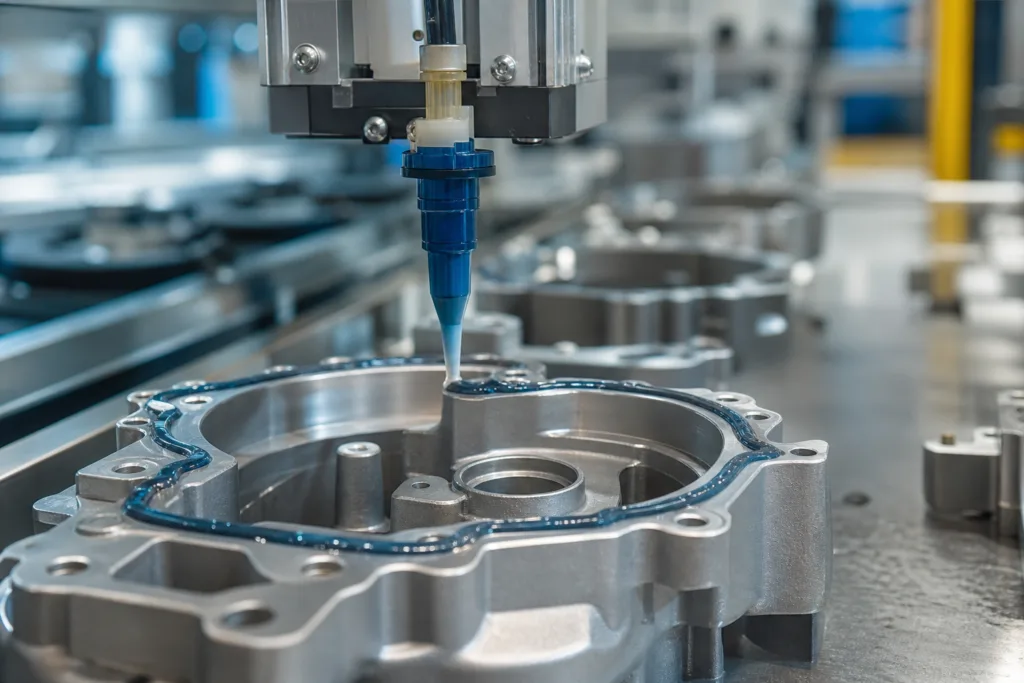
This issue is especially important in automated dispensing, high-viscosity materials, rough substrates, and potting or encapsulation operations. We look at viscosity, thixotropy, dispense speed, bead placement, mixing quality, and part assembly pressure to make sure the adhesive really contacts the surfaces as designed. Where needed, degassing, slower dispense, redesigned bead geometry, or adjusted assembly pressure can reduce hidden defects.
Insufficient cure or under-cured adhesive
An adhesive that appears dry is not always fully cured. This distinction causes many moisture-related failures because under-cured material is more vulnerable to softening, hydrolytic attack, lower cohesive strength, and poorer interface stability. In two-part systems, inaccurate ratio control or poor mixing is a classic source of under-cure. In moisture-curing, UV-curing, and heat-curing systems, shadowed areas, low temperature, excess thickness, or rushed line speed can leave part of the bond underdeveloped.
Production teams investigating an adhesive bond weak after water exposure should review how cure conditions differ from simple drying in production. We routinely see situations where handling strength is achieved quickly, but full moisture resistance requires additional time or post-cure conditions. Cure verification can include hardness trend, DSC or other lab methods when relevant, mix traceability, gel time checks, and control samples aged before water testing.
Thermal cycling that opens microcracks and weakens the joint over time
Water exposure and thermal cycling are a difficult combination. Repeated heating and cooling can create expansion mismatch between substrate and adhesive. If the adhesive is too brittle, too thick, or constrained by joint design, microcracks may form. Water then enters these defects and accelerates damage. The failure may be reported as a wet-service problem, but temperature movement is often part of the mechanism.
This is common in electronics housings, lighting assemblies, metal-plastic joints, battery-related components, and outdoor enclosures. A tougher, more flexible adhesive may perform better than a harder product with higher dry strength. We evaluate not only initial adhesion, but also elongation, modulus, thermal expansion mismatch, and whether the joint sees peel-like movement in use.
Substrate swelling, dimensional change, or softening after moisture uptake
Sometimes the adhesive remains relatively stable while the substrate changes. Wood-based materials, paper laminates, some engineering plastics, foams, textiles, and certain coatings can absorb moisture and swell, soften, or lose internal strength. In those cases, the bond is stressed by movement or the substrate itself becomes the weak link.
Diagnosis should therefore include substrate inspection, not just adhesive inspection. If the material near the joint looks softened, whitened, blistered, or permanently distorted, the issue may be substrate durability under wet service. Selecting a different adhesive alone may not solve it unless the joint also accommodates movement or the substrate specification changes.
Weak or inconsistent surface preparation before bonding
Water magnifies the consequences of poor surface preparation. Light oil film, mold release, dust, oxidation, fingerprints, residual cleaner, or delayed bonding after prep can all reduce interface quality. A bond that survives dry indoor testing may fail quickly after moisture exposure because water exploits those weak areas first.
For many assemblies, the most effective corrective action is better process discipline rather than a more aggressive adhesive. We have outlined surface preparation steps that reduce premature bond weakening because proper cleaning method, drying control, abrasion where appropriate, and timing between preparation and bonding all influence durability. Technical guidance such as surface preparation and pretreatment for structural adhesives also reinforces the need to prevent contamination from handling and to bond promptly after prep when surface condition is critical.
Wrong bond-line thickness for the adhesive chemistry and joint design
Bond-line thickness is often overlooked in sourcing and scale-up. A joint that is too thin may starve, leaving poor coverage and weak edge sealing. A joint that is too thick may trap stress, cure unevenly, or create a soft zone that takes on more water. Different adhesive chemistries have different optimal thickness windows depending on whether the goal is structural strength, sealing, gap filling, or movement accommodation.
Spacers, bead size control, assembly pressure, and part-flatness tolerance all matter here. In our formulation and application work, bond-line control is one of the most practical levers for improving wet-service reliability without changing the whole assembly design.
Chemical contamination from oils, release agents, salts, cleaners, or process residues
Not all water-related failures are caused by water alone. Salts, alkaline cleaners, machining fluids, surfactants, cutting oils, corrosion inhibitors, and release agents can remain on the surface or be introduced during service. These materials can lower adhesion directly or work with moisture to create a much more severe environment than plain water exposure.
This root cause is especially common when production lines use multiple cleaning steps, outsourced molded parts, or metal components with temporary protective films. Incoming inspection and wipe tests are not always enough. Sometimes the only reliable answer is a controlled cleaning protocol, supplier communication about residues, or a qualification test using actual process-contaminated parts.
Unrealistic service assumptions about immersion, humidity, temperature, or load conditions
One of the most common planning errors is testing for one moisture scenario and using the assembly in another. Short-term room-temperature immersion is not the same as hot water exposure, high humidity under load, intermittent condensation, outdoor weathering, pressure washing, or immersion followed by thermal shock. The joint may also see peel forces, vibration, or constant stress that were not represented in qualification.
At ZDS, we encourage buyers to define the real exposure profile early: water type, temperature, exposure duration, drying periods, mechanical load, and failure threshold that matters in the product. That discussion often prevents selecting an adhesive based only on a broad waterproof claim when the assembly actually needs a more specific balance of flexibility, insulation, heat resistance, or encapsulation behavior. For electronics or insulating assemblies, a product such as ZDS-168AB-Z epoxy insulation waterproof adhesive for electronics may be relevant only after the substrate, thickness, cure, and exposure conditions are verified against the real application.
How to Separate Adhesive Failure from Design Failure
It is important not to treat every wet-service failure as an adhesive failure. Sometimes the joint is being loaded in peel when it was designed for shear. Sometimes water is entering through a fastener gap or housing seam rather than through the adhesive itself. Sometimes the bonded area is too small for the load once the substrate softens. In these cases, switching adhesive may improve results only marginally.
We usually divide the diagnosis into four possibilities: adhesion failure at the interface, cohesive failure within the adhesive, substrate failure, and design-driven failure. Each points toward different corrective actions.
| Failure type | Typical appearance | Likely next step |
|---|---|---|
| Adhesion failure | Clean separation from one substrate, little residue | Review substrate compatibility, prep, contamination, cure |
| Cohesive failure | Adhesive split within bond line, residue on both sides | Review cure, thickness, toughness, water resistance |
| Substrate failure | Material tears, coating lifts, foam ruptures | Review substrate durability and stress distribution |
| Design failure | Consistent failure at stress concentration or edge feature | Review geometry, bond area, edge sealing, load path |
What the Fracture Pattern, Failure Location, and Water Damage Symptoms Can Tell You
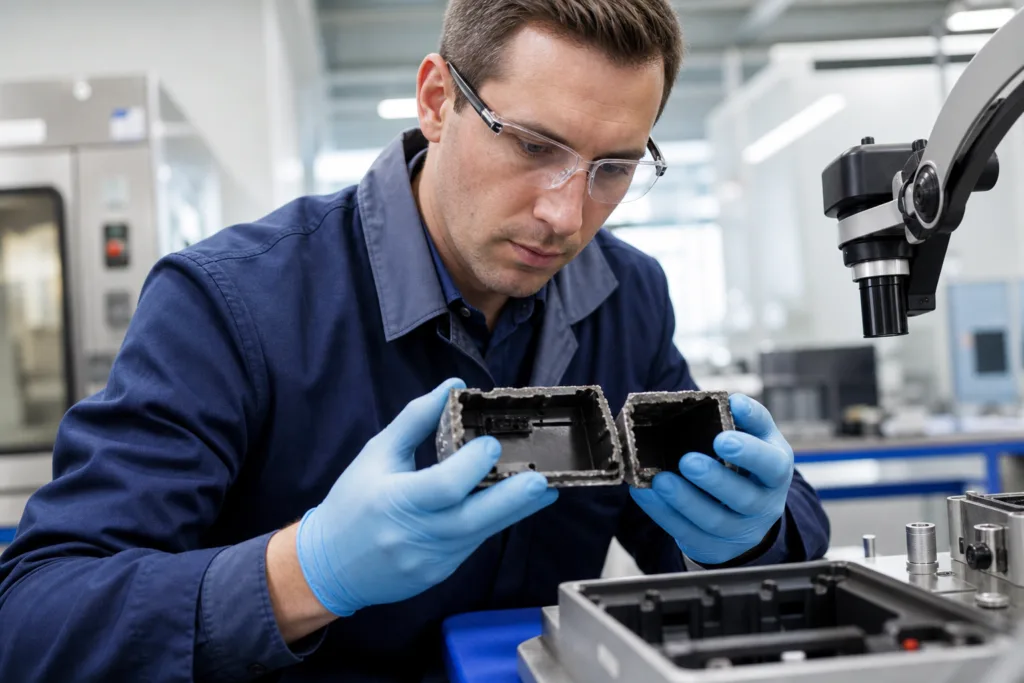
Failure evidence should be documented before parts are over-handled or cleaned. Photos of both sides, notes on where the fracture started, whether the edge is whitened or swollen, whether corrosion is present, and whether failure is localized or general all help narrow the root cause. A perimeter-origin failure suggests ingress or edge contamination. A random internal void pattern suggests wet-out or dispensing issues. Widespread soft cohesive failure suggests cure or chemistry limitations.
Symptoms after drying can also be informative. If strength partly recovers after drying, reversible moisture plasticization may be involved. If the interface remains permanently weak, interfacial damage or corrosion may have occurred. If substrate surfaces show coating lift or residue transfer, the weakest layer may be within a primer or finish rather than the adhesive bond itself.
What Production and Exposure Records Help with Diagnosis
Strong troubleshooting depends on records, not memory. Even a technically good adhesive can perform poorly when process control is inconsistent. For industrial buyers evaluating whether the issue is formulation, supplier, or internal production practice, the right records often save time and unnecessary material changes.
Cure schedule, mix ratio, pot life, temperature, humidity, and open time records
Check whether the adhesive was mixed and used within its defined working time, whether line temperature affected viscosity or reaction rate, whether humidity influenced cure, and whether assemblies were exposed to water too early. For two-part products, ratio drift and incomplete mixing should be high on the suspect list.
Surface treatment, cleaning method, application amount, and dispensing history
Batch-to-batch variation often traces back to preparation and application. Record what cleaner was used, whether abrasion or plasma treatment was applied, whether the substrate was handled after cleaning, what bead size or spread rate was used, and whether dispensing pressure or static mixers changed during the lot.
Water exposure details, load conditions, thermal history, and field-use duration
Do not use a vague phrase like “failed after getting wet.” Capture whether the bond saw rain, hot-water wash, salt mist, cleaning chemistry, condensation, full immersion, freeze-thaw, or humidity under electrical load. Also note when in the life cycle failure occurred: immediately, after storage, after field cycling, or only after months of use.
Test data that supports root-cause analysis
Peel, shear, immersion, humidity aging, thermal cycling, insulation, and visual cross-section checks all have value when matched to the failure mode. Comparative testing should include controls bonded with known-good preparation and full cure. If the use case is complex or the mechanism is still unclear, our adhesive selection technical support for moisture-related failures approach typically starts with application review, retained sample comparison, and targeted validation rather than broad trial-and-error screening.
How We Help Customers Troubleshoot Moisture-Related Bond Failure
From an adhesive manufacturer’s perspective, the most effective troubleshooting combines material knowledge with process review. We do not assume the adhesive is innocent, and we do not assume it is guilty. We look at substrate pair, exposure type, bond geometry, cure profile, viscosity fit, and the evidence from failed parts. That makes it easier to decide whether the solution is a chemistry change, a surface-treatment change, a joint redesign, or tighter process control.
For some projects, the answer is a more suitable wet-service adhesive with better toughness, lower water uptake, improved adhesion to a difficult substrate, or more forgiving cure behavior. For others, a custom formulation is more useful than switching to a generic off-the-shelf product. OEM and private label buyers may also need packaging format changes, mix-ratio adjustments, color identification, or production-stability planning for scale.
Sample evaluation matters here. We prefer to test on real substrates, realistic thickness, real cure conditions, and realistic water exposure rather than idealized lab-only conditions. That produces more useful procurement decisions and helps avoid qualifying a formula that looks strong in dry short-term tests but weakens in field moisture conditions.
Preventive Checklist for Future Moisture-Related Bond Failures
- Define the actual water exposure: humidity, splash, condensation, washdown, immersion, or cycling.
- Confirm the load mode: shear, peel, impact, vibration, or constant stress.
- Verify substrate type, coating, supplier variation, and moisture sensitivity.
- Control cleaning, handling, and timing from surface prep to bonding.
- Confirm bond-line thickness and complete wet-out across the full joint.
- Verify cure with real production conditions, not appearance alone.
- Check pot life, mix ratio, dispensing consistency, and environmental conditions.
- Inspect edges, fillets, and possible water pathways into the joint.
- Test with realistic thermal and moisture exposure, not only dry initial strength.
- Document failure patterns and compare them with retained control samples.
Conclusion
When an adhesive bond weak after water exposure becomes a recurring problem, the answer is often broader than simply choosing a different glue. Moisture-related bond loss can result from substrate compatibility, edge ingress, poor wet-out, under-cure, thermal cycling, substrate movement, weak preparation, uncontrolled thickness, contamination, or unrealistic service assumptions. The most reliable correction comes from matching the observed failure pattern to the actual mechanism, then validating the fix with realistic testing. For industrial teams, that approach reduces repeat failures, shortens troubleshooting time, and leads to a more durable bonding system in real wet-service conditions.
FAQs
Can a waterproof adhesive still fail after water exposure?
Yes. Waterproof claims usually describe material resistance in general terms, but the bond can still fail because of poor substrate compatibility, contamination, edge ingress, incomplete cure, thermal stress, or joint design problems. In many cases, water reveals a weakness that already existed in the bonding system rather than destroying a fully sound bond by itself.
How can we tell whether the failure is at the interface or inside the adhesive?
Look at both fracture surfaces. If one side appears relatively clean with little adhesive residue, the problem is often adhesion at the interface. If both sides retain adhesive and the split occurs within the bond line, cohesive failure is more likely. Also check where the crack started, whether edges are more damaged than the center, and whether the substrate or coating itself has weakened.
Does under-cure make moisture failure more likely?
Very often, yes. Under-cured adhesive can have lower cohesive strength, lower chemical resistance, and poorer long-term interface stability. It may feel dry enough for handling but still lack the full network development needed for wet-service durability. Reviewing mix ratio, cure time, temperature, humidity, and the timing of water exposure is an important diagnostic step.
What production records are most useful when troubleshooting water-related bond failure?
The most useful records usually include substrate lot information, cleaning method, surface treatment details, adhesive batch number, mix ratio, pot life, dispense settings, bond-line thickness, cure schedule, ambient temperature and humidity, and the exact water exposure history. These records help separate random failure from repeatable process causes and make sample retesting far more meaningful.
Should we change adhesive chemistry first when the bond weakens after water exposure?
Not always. Changing chemistry too early can hide the real issue and add unnecessary cost. A better sequence is to review fracture pattern, surface condition, cure evidence, contamination risk, edge design, and actual service conditions first. If those factors are controlled and the bond still loses durability, then a different adhesive or custom formulation becomes a more confident decision.
How should we validate a fix before full production release?
Validate on real substrates with the intended bond-line thickness, actual production cure conditions, and a test plan that reflects true service exposure. That may include humidity aging, water immersion, thermal cycling, peel or shear testing, and visual inspection for edge attack or substrate change. Comparing revised samples against retained baseline parts is one of the most practical ways to confirm the improvement is real.